
[kh2walkthrunav]
Ballroom Blitz
Talk to the Beast when you first touch down in the “Entrance Hall”. Follow him and Belle into the “Ballroom”. Unfortunately, their dance is interrupted by Xaldin and his horde of Nobodies!
Event: Defeat all the Nobodies
|
 The new Dragoon Nobodies feature a Reaction Command that will help you gain the upper hand against them. You should practice it during your encounters with them so you can master it for later! The Learn Reaction Command will appear after most of the Dragoon’s attacks. Press the Triangle Button rapidly to stock up as many Jump Commands as you can from a single attack. The Jump Command replaces the Attack Command in your Command Menu, allowing you to warp above enemies and come crashing down with a powerful blow! You can stock up to 9 Jump Commands in your Command Menu, then unleash them using the X Button.
After you’ve cleared out the Nobodies, follow the Beast all the way up to his room in “The West Wing”. After the cutscene, re-enter “Beast’s Room” and try to cheer him up. Sora obtains the Rumbling Rose Keyblade.
Before the Last Petal Falls
With Beast now in your Party, return all the way back to the “Entrance Hall”. Another wave of Nobodies awaits you there, courtesy of Xaldin.
Event: Defeat all the Nobodies
|
Head outside to the “Courtyard”. The cutscene will automatically bring you to the “Bridge” for your showdown with Xaldin!
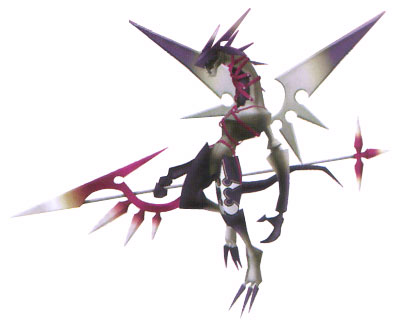
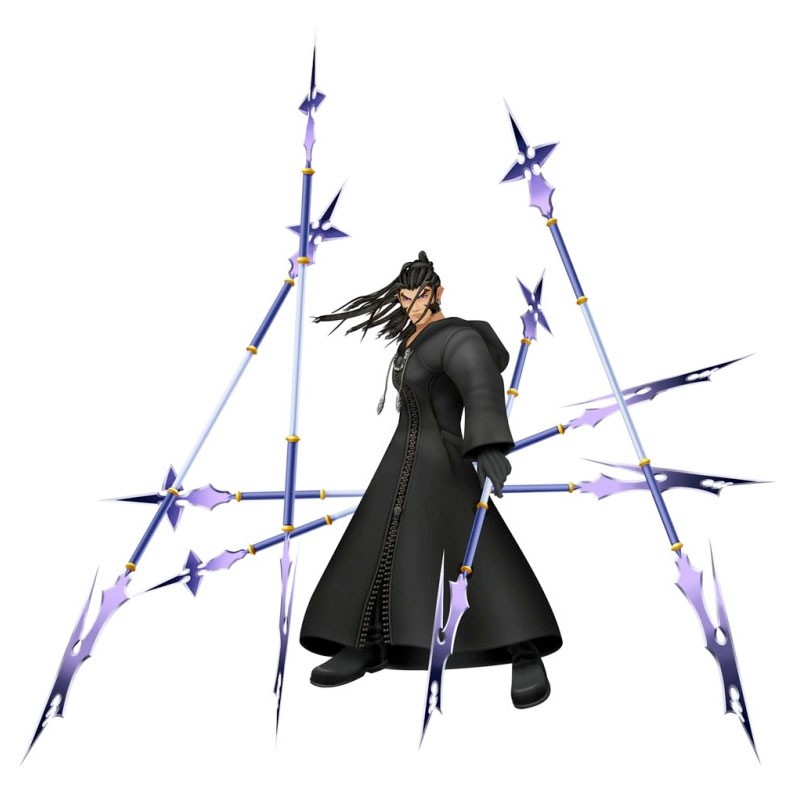
Boss: XaldinHP: 1155 STR: 34 DEF: 19
Xaldin begins the battle coated in a shield of wind, which prevents you from getting close to him for standard combos without getting hit. Keep your distance in the beginning, baiting him into attacks and jumping out of the way to dodge them. After every single attack that Xaldin uses, you should look for the Learn Reaction Command. Rapidly press the Triangle Button to stock up as many Jump Commands as you can with each attack. If you lock on to Xaldin and use the Jump Command, you’ll warp above him and come down hard, breaking through his wind barrier. Use the additional Jump Commands you have stocked up to deal some serious damage while he’s vulnerable! As the battle goes on, Xaldin will start throwing more fierce attacks your way. If he ever warps high up in the sky, start running toward the opposite end of the bridge. Jump when you hear him coming, but be ready to press the Triangle Button while you’re in the air to rack up more Jump Commands as you dodge his attacks. Xaldin’s final move in this assault surrounds you with his lances before he comes crashing down on top of you. Just as the lances shoot up into the sky, activate the Jump Commands you’ve accumulated and let him have it! One of Xaldin’s more powerful attacks is an easy one to avoid and an extremely nasty one to be hit by. You’re going to want to make sure you have enough MP to rapidly use Reflect spells to avoid damage. Xaldin slings his lances together to form a giant serpent that fires a torrent of wind across the whole bridge. You can avoid this one of two ways: the first is to simply use Reflect magic relentlessly to shield yourself from the damage; the second is to enter a Limit Command to completely avoid taking damage. You won’t be able to hit Xaldin at all, but at least you’ll avoid damage. The problem with using Limit Commands to avoid attacks is that they leave you with no MP when you’re done. Use this knowledge wisely when deciding how you want to approach things. Xaldin’s most deadly rampage is triggered toward the end of the battle. You can easily tell it’s coming when Xaldin starts to glow and the whole area gets really dark. Xaldin cannot be hurt during this assault, and he’s almost impossible to dodge outright, so running or jumping away won’t help you much. Your only options are the same as above (use Reflect magic rapidly to shield yourself or use a Limit Command to avoid damage completely). Throughout the entire fight, be on the lookout for the Learn Reaction Command. Using the Jump Commands you collect is literally your only real chance at hurting him, let alone winning the fight! Victory against Xaldin earns you an HP +5 Get Bonus and the next Reflect Element for Sora (upgrading his Reflect spell to Reflera), an HP +4 Get Bonus and the Auto Healing Ability for Donald, and an HP +25 Get Bonus for Beast. |
 Xaldin is among the most difficult enemies in the entire game, so you’d best come into this fight prepared! For starters, you’ll want to make sure that you have your Reflect magic in your Shortcut Menu for easy access. You’re also going to want a bunch of Hi-Potions for healing, because you’re not going to want to waste MP using Cura spells.
With Xaldin defeated, Sora obtains Secret Ansem Report 4. It’s time to move on to the next world after the final cutscene finishes.
