No. I
Location: The World That Never Was (Memory’s Skyscraper)
Objective: Land 70 Hits or More before time runs out
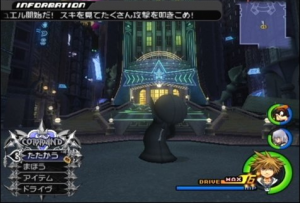 Enter Final Form for this challenge. Be sure to use the second Reaction Command at the right time, then unleash one quick combo before No. I retaliates. It helps to have both the Fenrir and Negative Combo equipped to shorten the length of Sora’s combos, ensuring that you won’t accidentally commit to more than one combo. This will only aggravate No. I, who will fight back with rushing attacks when attacked at the wrong time. Enter Final Form for this challenge. Be sure to use the second Reaction Command at the right time, then unleash one quick combo before No. I retaliates. It helps to have both the Fenrir and Negative Combo equipped to shorten the length of Sora’s combos, ensuring that you won’t accidentally commit to more than one combo. This will only aggravate No. I, who will fight back with rushing attacks when attacked at the wrong time.
|
No. II
Location: Halloween Town (Christmas Town: Christmas Tree Plaza)
Objective: Finish with a score of 85 or more
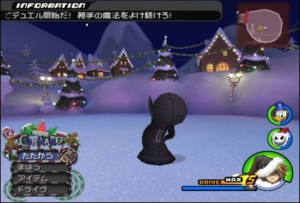 No. II launches energy bolts from the air, which you’ll need to reflect back at him in order to earn points. Each reflected bolt earns you one point. The best strategy is to use Reflect magic since the bolts can sometimes come from all directions. Be sure to have quick access to Ethers in case your MP runs low. Look for gaps in No. II’s assault to use them and replenish lost MP. No. II launches energy bolts from the air, which you’ll need to reflect back at him in order to earn points. Each reflected bolt earns you one point. The best strategy is to use Reflect magic since the bolts can sometimes come from all directions. Be sure to have quick access to Ethers in case your MP runs low. Look for gaps in No. II’s assault to use them and replenish lost MP.
|
No. III
Location: Beast’s Castle (Bridge)
Objective: Finish with a score of 450 or more
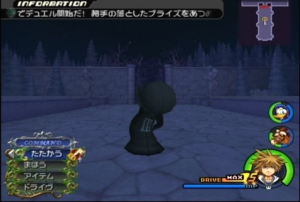 No. III floats around dropping prizes that you need to collect in order to earn points. The key is to collect as many prizes as possible, especially when No. III drops large amounts all at once. Use the Quick Run and Glide Abilities when necessary to keep up with No. III, as he can move pretty quickly at times. No. III floats around dropping prizes that you need to collect in order to earn points. The key is to collect as many prizes as possible, especially when No. III drops large amounts all at once. Use the Quick Run and Glide Abilities when necessary to keep up with No. III, as he can move pretty quickly at times.
|
No. IV
Location: Land of Dragons (Imperial Square)
Objective: Finish with a score of 85 or more
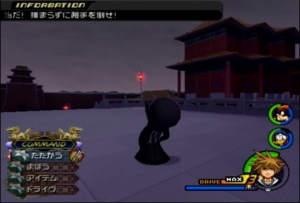 No. IV calls forth clones of himself, which you need to avoid or the challenge will end. It’s best to go into Wisdom Form and enter Berserk Charge by using Curaga to use up all of Sora’s MP. Hover around in circles while rapidly firing magic bullets at the clones, who will follow you in the circle, making them easy to pick off as you go. Be sure to remain in Berserk Charge until the challenge is completed. No. IV calls forth clones of himself, which you need to avoid or the challenge will end. It’s best to go into Wisdom Form and enter Berserk Charge by using Curaga to use up all of Sora’s MP. Hover around in circles while rapidly firing magic bullets at the clones, who will follow you in the circle, making them easy to pick off as you go. Be sure to remain in Berserk Charge until the challenge is completed.
|
No. V
Location: Agrabah (Cave of Wonders: Treasure Room)
Objective: Defeat it in 10 seconds or less
 The trick to defeating No. V in the set amount of time is to use the Zantetsuken Combo Finisher in Limit Form. Equip the Fenrir Keyblade and Negative Combo Ability, and remove all Abilities that extend Sora’s normal combos. This will make Sora’s combo literally consist of ONLY Zantetsuken while in Limit Form. Zantetsuken is capable of taking out an entire bar and a half of No. V’s constantly replenishing health, but you have to be quick. The trick to defeating No. V in the set amount of time is to use the Zantetsuken Combo Finisher in Limit Form. Equip the Fenrir Keyblade and Negative Combo Ability, and remove all Abilities that extend Sora’s normal combos. This will make Sora’s combo literally consist of ONLY Zantetsuken while in Limit Form. Zantetsuken is capable of taking out an entire bar and a half of No. V’s constantly replenishing health, but you have to be quick.
|
No. VI
Location: Olympus Coliseum (Underworld Caverns: Atrium)
Objective: Finish in 45 seconds or less
 No. VI appears in small groups of clones sporadically around the area. You need to take all of them out to finish the challenge. The easiest way to do this is to go into Final Form and use Thundaga to take out entire clusters of clones at a time. Be sure to have Ethers handy for when MP starts to run low, and use the Lock On feature to find clusters fast. No. VI appears in small groups of clones sporadically around the area. You need to take all of them out to finish the challenge. The easiest way to do this is to go into Final Form and use Thundaga to take out entire clusters of clones at a time. Be sure to have Ethers handy for when MP starts to run low, and use the Lock On feature to find clusters fast.
|
No. VII
Location: Twilight Town (Tunnelway)
Objective: Defeat it in 10 seconds or less
 No. VII will constantly try to charge straight at Sora, and will knock him skyward with each contact he makes. You’ll need to take him out with long-range attacks that can be executed from a distance. You’ll also need the ability to move quickly in case No. VII decides to get too close. Final Form is your best bet for this task. Use Thundaga spells from a distance to take out No. VII’s HP as quick as possible. No. VII will constantly try to charge straight at Sora, and will knock him skyward with each contact he makes. You’ll need to take him out with long-range attacks that can be executed from a distance. You’ll also need the ability to move quickly in case No. VII decides to get too close. Final Form is your best bet for this task. Use Thundaga spells from a distance to take out No. VII’s HP as quick as possible.
|
No. VIII
Location: Twilight Town (The Tower)
Objective: Finish with a score of 85 or more
 The goal of No. VIII’s challenge is to land as many hits as possible while keeping him airborne. To do this, you’ll need Berserk Charge and Donald’s Comet Limit Command. Start by initiating Berserk Charge (Curaga is the best way to do this quickly). Hit No. VIII with as many hits as you can before your MP comes back. Horizontal Slash works best for ensuring the maximum amount of hits while keeping No. VIII close. Eventually, one of your hits may knock No. VIII really far away. By then, your MP should be recharged, in which case it’s time to use Donald’s Comet Limit Command. This will not actually earn you any hits, but it will keep No. VIII up in the air long enough for you to get back up to him and continue using the Horizontal Slash strategy. The goal of No. VIII’s challenge is to land as many hits as possible while keeping him airborne. To do this, you’ll need Berserk Charge and Donald’s Comet Limit Command. Start by initiating Berserk Charge (Curaga is the best way to do this quickly). Hit No. VIII with as many hits as you can before your MP comes back. Horizontal Slash works best for ensuring the maximum amount of hits while keeping No. VIII close. Eventually, one of your hits may knock No. VIII really far away. By then, your MP should be recharged, in which case it’s time to use Donald’s Comet Limit Command. This will not actually earn you any hits, but it will keep No. VIII up in the air long enough for you to get back up to him and continue using the Horizontal Slash strategy.
|
No. IX
Location: Hollow Bastion (Castle Gate)
Objective: Finish with a score of 75 or more
 No. IX’s challenge is to keep him spinning for as long as you possibly can. To do this, you’ll need to continuously attack him without stopping, leaving no pauses even for a second for him to slow down. Berserk Charge is the easiest way to accomplish this goal. Use aerial combos and Horizontal Slash to get in hits fast and keep him moving. Be sure to be locked on to keep No. IX close by. No. IX’s challenge is to keep him spinning for as long as you possibly can. To do this, you’ll need to continuously attack him without stopping, leaving no pauses even for a second for him to slow down. Berserk Charge is the easiest way to accomplish this goal. Use aerial combos and Horizontal Slash to get in hits fast and keep him moving. Be sure to be locked on to keep No. IX close by.
|
No. X
Location: Port Royal (Isla de Muerta: Moonlight Nook)
Objective: Defeat it in 55 seconds or less
 No. X brings up four other copies of itself all in a line. The objective here is to find the real No. X and defeat it. Follow the Mushroom that moves and attack it when they line themselves back up. With each successful round, No. X will take more damage in a single combo, allowing you to take him out faster if you get it right. No. X brings up four other copies of itself all in a line. The objective here is to find the real No. X and defeat it. Follow the Mushroom that moves and attack it when they line themselves back up. With each successful round, No. X will take more damage in a single combo, allowing you to take him out faster if you get it right.
|
No. XI
Location: Timeless River (Waterway)
Objective: Defeat it in 19 seconds or less
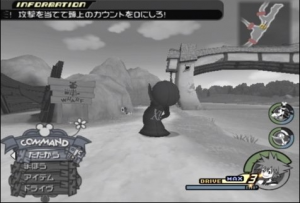 No. XI has a hit counter above its head, which you’ll need to deplete in order to complete this challenge. The easiest way to accomplish this goal is to enter Wisdom Form and pelt him with magic bullets. Have Fenrir and Negative Combo equipped and remove all abilities that extend Sora’s combos. This will let you use the Wisdom Form finishing combo sooner, which unleashes multiple shots in rapid succession, taking No. XI’s hit counter down even faster. No. XI has a hit counter above its head, which you’ll need to deplete in order to complete this challenge. The easiest way to accomplish this goal is to enter Wisdom Form and pelt him with magic bullets. Have Fenrir and Negative Combo equipped and remove all abilities that extend Sora’s combos. This will let you use the Wisdom Form finishing combo sooner, which unleashes multiple shots in rapid succession, taking No. XI’s hit counter down even faster.
|
No. XII
Location: Twilight Town (The Old Mansion)
Objective: Finish with a score of 40 or more
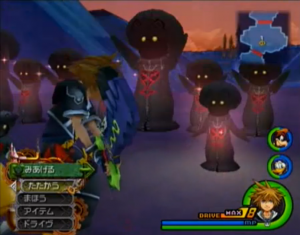
 No. XII creates replicas of itself that appear all over the area in front of the Old Mansion. You’ll need to take out as many as you can before time runs out. The easiest way to do this is to enter Wisdom Form and go into Berserk Charge. Then, use the lock on feature repeatedly to locate a replica and hit it with a magic bullet. Constantly be moving around and using the lock on to locate replicas quickly and take them out as fast as possible. No. XII creates replicas of itself that appear all over the area in front of the Old Mansion. You’ll need to take out as many as you can before time runs out. The easiest way to do this is to enter Wisdom Form and go into Berserk Charge. Then, use the lock on feature repeatedly to locate a replica and hit it with a magic bullet. Constantly be moving around and using the lock on to locate replicas quickly and take them out as fast as possible.
|
No. XIII
Location: Hollow Bastion (The Great Maw)
Objective: Clear all other Mushroom XIII challenges
 In order to make No. XIII appear, you must first complete all other Mushroom XIII challenges. In the Great Maw, each defeated member of Mushroom XIII will appear in a line. When all of them have been defeated, a light will appear in front of them. Enter and press the Triangle Button and No. XIII will descend from the sky. Use the Triangle Button when prompted and No. XIII will reward you with the Winner’s Proof Keyblade and the Tranquil Proof, which earns Sora a Crown. In order to make No. XIII appear, you must first complete all other Mushroom XIII challenges. In the Great Maw, each defeated member of Mushroom XIII will appear in a line. When all of them have been defeated, a light will appear in front of them. Enter and press the Triangle Button and No. XIII will descend from the sky. Use the Triangle Button when prompted and No. XIII will reward you with the Winner’s Proof Keyblade and the Tranquil Proof, which earns Sora a Crown.
|

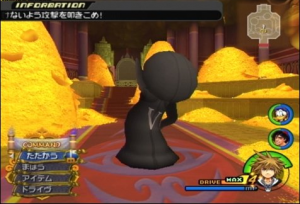
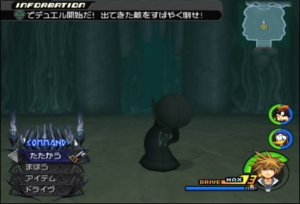
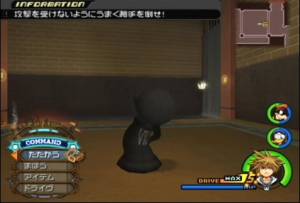
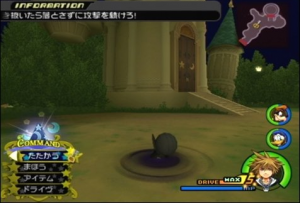
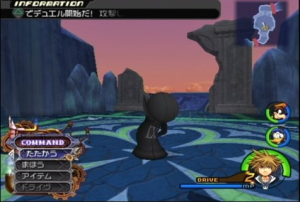
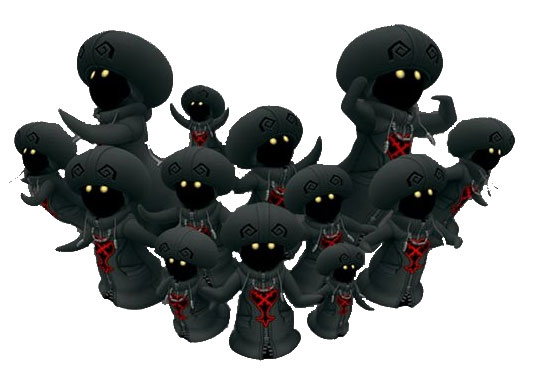 Mushroom XIII is a group of 13 Heartless who appear in various parts of each world. They are not aggressive on their own, but instead, provide rare and valuable rewards to those who can complete each of their unique challenges. If you manage to meet all of their challenges according to the requirements detailed below, you’ll receive the Winner’s Proof Keyblade and the Tranquil Proof, earning Sora a Crown! Each member of Mushroom XIII is detailed below.