Enemies Bosses Unique Heartless
Enemies
Our Enemy Bestiary covers encounters with typical enemies featured in random battles throughout the various worlds. Each enemy is detailed below, listed in the order you are most likely to encounter them as you progress through the game. It should be noted that unless otherwise listed under Weak/Resist, all damage types deal regular damage to all enemies.
Shadow |
|
| Image: | 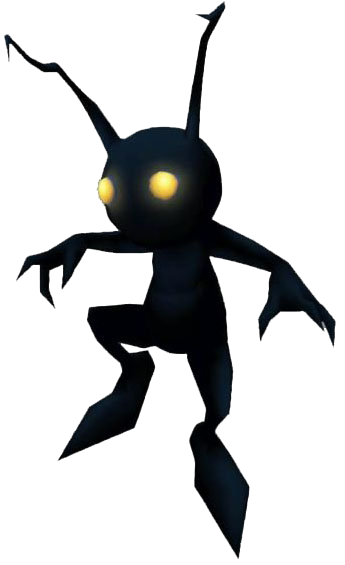 |
| Locations: | Dive to the Heart; Destiny Islands; Traverse Town; Wonderland; Olympus Coliseum; Deep Jungle; Agrabah; Monstro; Halloween Town; Neverland; Hollow Bastion; End of the World; World of Chaos |
| Drops: | Dive to the Heart: Small HP x3 Destiny Islands: Small HP x4; Potion (5%) Traverse Town: Small HP x1; Small Munny x2; Potion (1%); Lucid Shard (8%) Wonderland: Small HP x1; Small Munny x2; Potion (1%); Lucid Shard (8%) Deep Jungle: Small HP x1; Small Munny x2; Potion (1%); Lucid Shard (8%) Agrabah: Small HP x1; Small Munny x2; Potion (1%); Lucid Shard (8%) Monstro: Small HP x1; Small Munny x2; Potion (1%); Lucid Shard (8%) Halloween Town: Small HP x1; Small Munny x2; Potion (1%); Lucid Shard (8%) Neverland: Small HP x1; Small Munny x2; Potion (1%); Lucid Shard (8%) Hollow Bastion: Small HP x1; Small Munny x2; Potion (1%); Lucid Shard (8%) End of the World: Small HP x1; Small Munny x2; Potion (1%); Lucid Shard (8%) World of Chaos: Small HP x8; Small MP x10; Mega-Potion (10%) |
| Weak/Resist: | After Rescue: Gravity x0.8; Stop x0.6 |
Soldier |
|
| Image: | 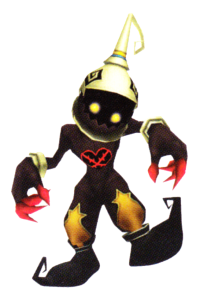 |
| Locations: | Traverse Town; Wonderland; Olympus Coliseum; Agrabah; Monstro; Hollow Bastion; End of the World |
| Drops: | Defeated: Small HP x2; Small Munny x5; Potion (2%); Spirit Shard (8%); Protect Chain (1%) |
| Weak/Resist: | After Rescue: Gravity x0.8; Stop x0.6 |
Large Body |
|
| Image: | 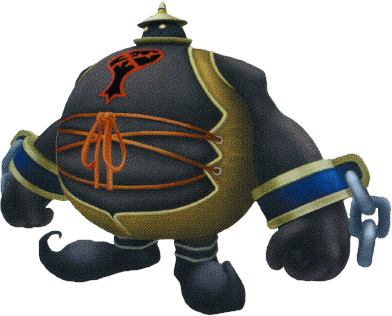 |
| Locations: | Traverse Town; Wonderland;>/span> Olympus Coliseum; Agrabah; Monstro; Hollow Bastion; End of the World |
| Drops: | Defeated: Small HP x8; Small Munny x15; Large Munny x1; Hi-Potion (4%); Spirit Shard (12%); Protera Chain (1%) |
| Weak/Resist: | After Rescue: Gravity x0.8; Stop x0.6 |
Red Nocturne |
|
| Image: |  |
| Locations: | Traverse Town; Wonderland; Olympus Coliseum; Monstro; Hollow Bastion; End of the World |
| Drops: | Defeated: Small MP x4; Small Munny x1; Ether (1%); Blaze Shard (6%); Fira Ring (0.5%) |
| Weak/Resist: | Before Rescue: Absorbs Fire; Thunder x0.5 After Rescue: Absorbs Fire; Thunder x0.5; Gravity x0.8; Stop x0.6 |
Blue Rhapsody |
|
| Image: |  |
| Locations: | Traverse Town; Wonderland; Olympus Coliseum; Monstro; Hollow Bastion; End of the World |
| Drops: | Defeated: Small HP x1; Small MP x5; Ether (1%); Frost Shard (12%); Blizzara Ring (0.5%) |
| Weak/Resist: | Before Rescue: Absorbs Blizzard; Thunder x0.5 After Rescue: Absorbs Blizzard; Thunder x0.5; Gravity x0.8; Stop x0.6 |
Yellow Nocturne |
|
| Image: | 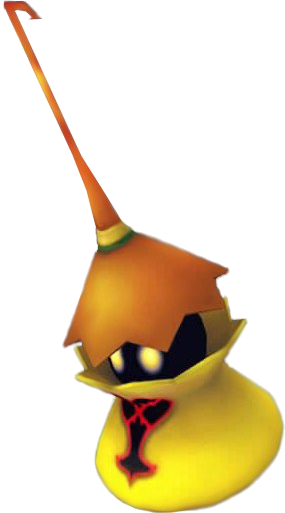 |
| Locations: | Traverse Town; Wonderland; Olympus Coliseum; Agrabah; Monstro; Neverland; Hollow Bastion; End of the World |
| Drops: | Defeated: Small MP x1; Large MP x1; Small Munny x4; Ether (1%); Thunder Shard (8%); Thundara Ring (0.5%); |
| Weak/Resist: | Before Rescue: Absorbs Thunder After Rescue: Absorbs Thunder; Gravity x0.8; Stop x0.6 |
Green Requiem |
|
| Image: | 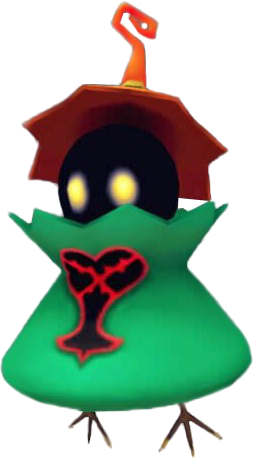 |
| Locations: | Traverse Town; Olympus Coliseum; Deep Jungle; Agrabah; Monstro; Hollow Bastion; End of the World |
| Drops: | Defeated: Small HP x4; Small MP x1; Large MP x1; Ether (4%); Bright Shard (10%); Protera Chain (0.5%) |
| Weak/Resist: | Before Rescue: Absorbs Fire; Absorbs Blizzard; Absorbs Thunder After Rescue: Absorbs Fire; Absorbs Blizzard; Absorbs Thunder; Gravity x0.8; Stop x0.6 |
Powerwild |
|
| Image: | 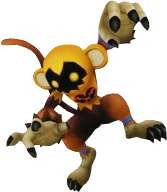 |
| Locations: | Olympus Coliseum; Deep Jungle; Monstro; End of the World |
| Drops: | Defeated: Small HP x3; Small Munny x4; Potion (2%); Power Shard (8%); Protera Chain (0.5%) Powerwild slips on banana: Small Munny x20; Medium Munny x5; Ether (20%); Mega-Ether (4%); Power Shard (16%) |
| Weak/Resist: | After Rescue: Gravity x0.8; Stop x0.6 |
Bouncywild |
|
| Image: | 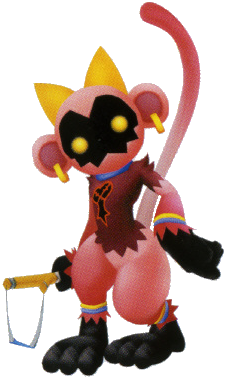 |
| Locations: | Deep Jungle; Monstro; End of the World |
| Drops: | Defeated: Small MP x1; Small Munny x15; Medium Munny x2; Hi-Potion (2%); Power Shard (12%); Protera Chain (1%) Bouncywild slips on banana: Small Munny x20; Medium Munny x5; Ether (20%); Mega-Ether (4%); Power Shard (24%) |
| Weak/Resist: | After Rescue: Gravity x0.8; Stop x0.6 |
Air Soldier |
|
| Image: | 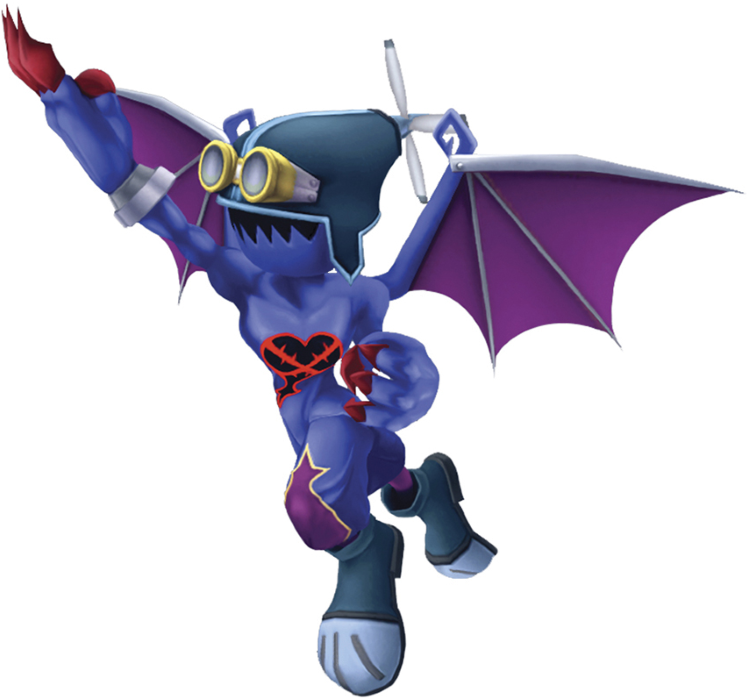 |
| Locations: | Traverse Town; Wonderland; Olympus Coliseum; Agrabah; Monstro; Hollow Bastion; End of the World |
| Drops: | Defeated: Small HP x4; Small Munny x1; Large Munny x1; Potion (2%); Hi-Potion (1%); Spirit Gem (4%) |
| Weak/Resist: | After Rescue: Gravity x0.8; Stop x0.6 |
Bandit |
|
| Image: | 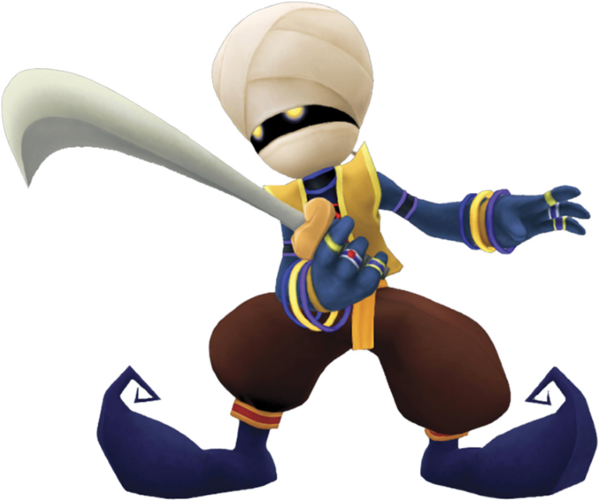 |
| Locations: | Olympus Coliseum; Agrabah; Monstro; End of the World |
| Drops: | Defeated: Small HP x4; Small Munny x1; Large Munny x1; Potion (2%); Blaze Gem (4%); Protera Chain (0.5%) |
| Weak/Resist: | After Rescue: Gravity x0.8; Stop x0.6 |
Fat Bandit |
|
| Image: | 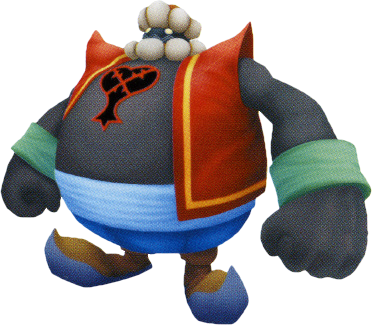 |
| Locations: | Olympus Coliseum; Agrabah; Monstro; End of the World |
| Drops: | Defeated: Small HP x10; Large HP x1; Small Munny x1; Medium Munny x2; Hi-Potion (4%); Blaze Gem (8%); Firaga Ring (1%) Defeated while charging Fire Breath: Small HP x15; Large HP x1; Small Munny x2; Medium Munny x4; Ether (4%); Blaze Gem (8%); Firaga Ring (2%) Defeated with Gravity: Small HP x10 |
| Weak/Resist: | After Rescue: Gravity x0.8; Stop x0.6 |
Pot Spider |
|
| Image: | 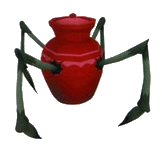 |
| Locations: | Olympus Coliseum; Agrabah; Monstro |
| Drops: | Defeated: Small Munny x8; Tent (1%); Camping Set (0.5%); Mythril Shard (1%) |
| Weak/Resist: | After Rescue: Gravity x0.8; Stop x0.6 |
Barrel Spider |
|
| Image: | 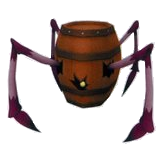 |
| Locations: | Olympus Coliseum; Monstro; Neverland; End of the World |
| Drops: | Defeated: Small Munny x3; Medium Munny x1; Camping Set (1%); Cottage (0.5%); Mythril Shard (1%) Explodes: No Drops |
| Weak/Resist: | After Rescue: Gravity x0.8; Stop x0.6 |
Search Ghost |
|
| Image: |  |
| Locations: | Traverse Town; Olympus Coliseum; Monstro; Atlantica; Halloween Town; Hollow Bastion; End of the World |
| Drops: | Defeated: Large HP x1; Small MP x1; Large MP x2; Hi-Potion (2%); Mega-Potion (1%); Bright Gem (4%); Defeated with Gravity: Large HP x3 Defeated while glowing: Large HP x3 |
| Weak/Resist: | After Rescue: Gravity x0.8; Stop x0.6 |
Sea Neon |
|
| Image: | 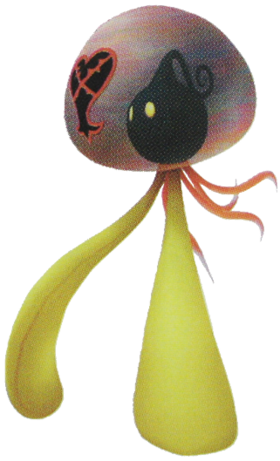 |
| Locations: | Atlantica; End of the World |
| Drops: | Defeat: Small MP x1; Large MP x2; Medium Munny x1; Ether (1%); Frost Gem (4%); Blizzaga Ring (0.2%) |
| Weak/Resist: | After Rescue: Gravity x0.8; Stop x0.6 |
Sheltering Zone |
|
| Image: |  |
| Locations: | Atlantica; End of the World |
| Drops: | Defeated: Small MP x5; Large MP x5; Small Munny x2; Medium Munny x3; Large Munny x1; Ether (4%); Frost Gem (8%); Blizzaga Ring (1%) Breaks into Sea Neons: See Sea Neon entry |
| Weak/Resist: | After Rescue: Gravity x0.8; Stop x0.6 |
Screwdiver |
|
| Image: |  |
| Locations: | Atlantica; End of the World |
| Drops: | Defeated: Small HP x5; Small Munny x1; Medium Munny x2; Hi-Potion (2%); Thunder Gem (4%); Thundaga Ring (0.2%) |
| Weak/Resist: | Before Rescue: Absorbs Thunder After Rescue: Absorbs Thunder; Gravity x0.8; Stop x0.6 |
Aquatank |
|
| Image: | 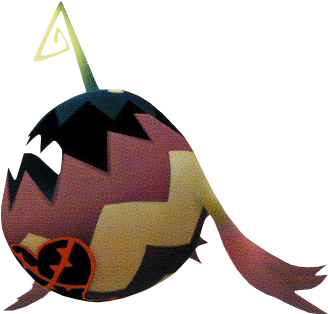 |
| Locations: | Atlantica; End of the World |
| Drops: | Defeated: Small HP x5; Large HP x1; Small Munny x2; Large Munny x4; Mega-Potion (4%); Thunder Gem (8%); Thundaga Ring (1%) |
| Weak/Resist: | Before Rescue: Absorbs Thunder; Gravity x0.9 After Rescue: Absorbs Thunder; Gravity x0.75; Stop x0.6 |
Wight Knight |
|
| Image: | 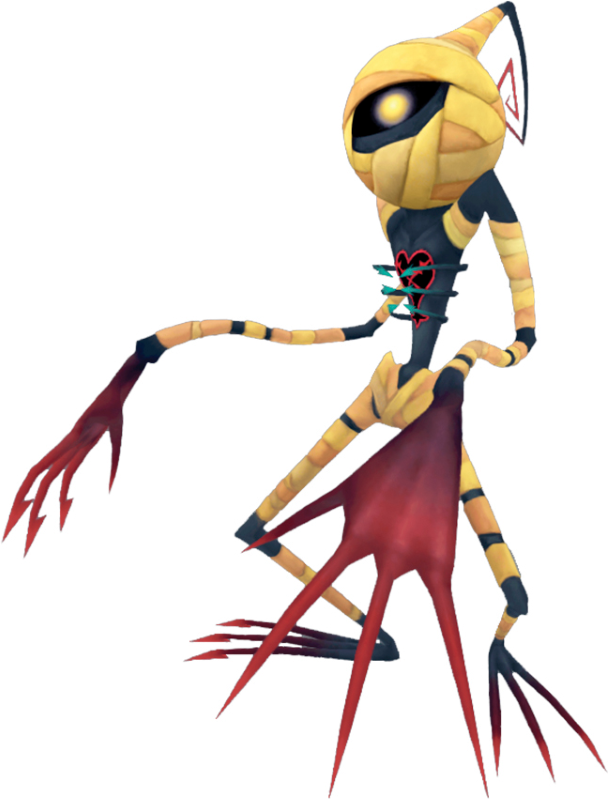 |
| Locations: | Olympus Coliseum; Halloween Town; End of the World |
| Drops: | Defeated: Large MP x4; Ether (2%); Mega-Ether (0.5%); Lucid Gem (4%) |
| Weak/Resist: | After Rescue: Gravity x0.8; Stop x0.6 |
Gargoyle |
|
| Image: | 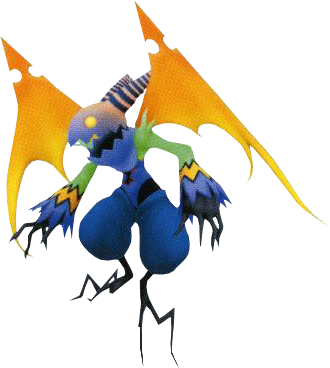 |
| Locations: | Olympus Coliseum; Halloween Town; End of the World |
| Drops: | Defeated: Large MP x4; Ether (2%); Mega-Ether (0.5%); Lucid Gem (4%) |
| Weak/Resist: | After Rescue: Gravity x0.8; Stop x0.6 |
Pirate |
|
| Image: | 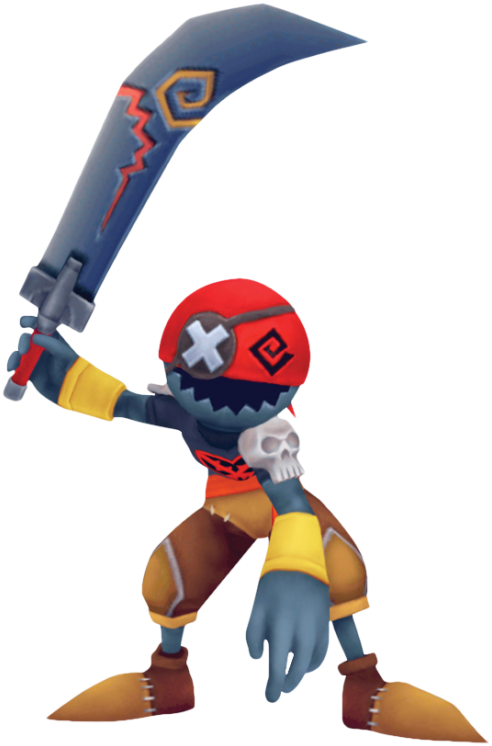 |
| Locations: | Olympus Coliseum; Monstro; Neverland; End of the World |
| Drops: | Defeated: Small HP x4; Small Munny x5; Hi-Potion (2%); Mega-Potion (1%); Power Gem (4%) |
| Weak/Resist: | After Rescue: Gravity x0.8; Stop x0.6 |
Air Pirate |
|
| Image: | 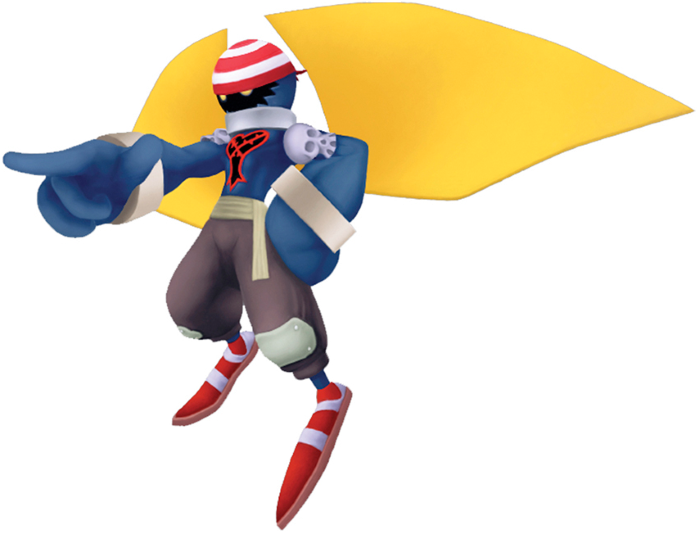 |
| Locations: | Olympus Coliseum; Monstro; Neverland; |
| Drops: | Defeated: Large HP x1; Medium Munny x2; Large Munny x1; Hi-Potion (2%); Mega-Potion (1%); Power Gem (4%) |
| Weak/Resist: | After Rescue: Gravity x0.8; Stop x0.6 |
Battleship |
|
| Image: | 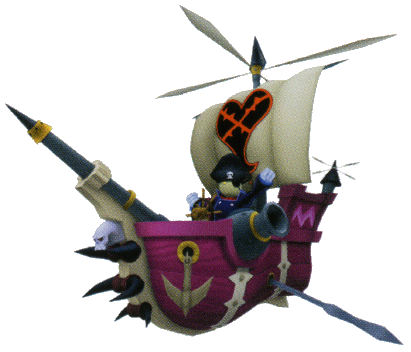 |
| Locations: | Olympus Coliseum; Neverland |
| Drops: | Defeated: Small HP x5; Large HP x1; Small MP x5; Large MP x2; Small Munny x3; Medium Munny x2; Large Munny x3; Elixir (1%); Power Gem (8%) Stern, Cannon, or Mast Destroyed: Elixir (4%); Power Gem (16%); Element Ring (2%) |
| Weak/Resist: | Before Rescue: Gravity x0.5 Stop x0.8 After Rescue: Gravity x0.4; Stop x0.6 |
Darkball |
|
| Image: | 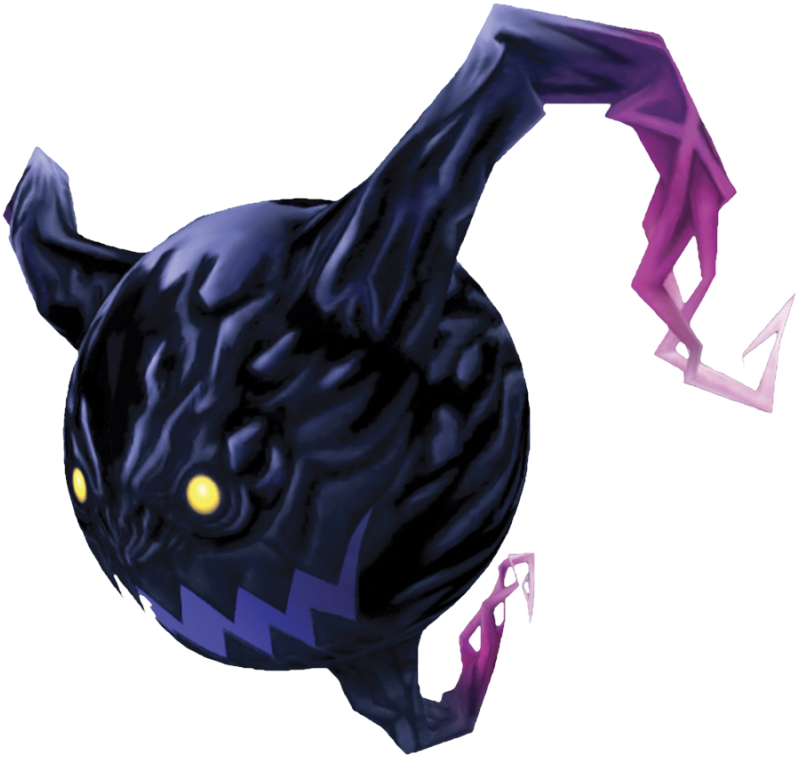 |
| Locations: | Traverse Town; Wonderland; Olympus Coliseum; Deep Jungle; Agrabah; Monstro; Atlantica; Halloween Town; Neverland; Hollow Bastion; End of the World; World of Chaos |
| Drops: | Defeated: Small HP x10; Small Munny x1; Medium Munny x1; Hi-Potion (1%); Lucid Crystal (1%) World of Chaos: Small MP x15; Mega-Ether (10%) |
| Weak/Resist: | After Rescue: Gravity x0.8; Stop x0.6 |
Defender |
|
| Image: | 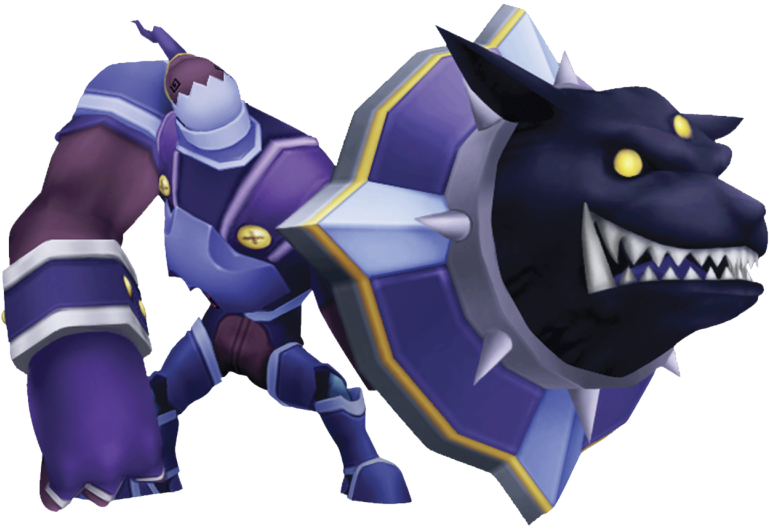 |
| Locations: | Traverse Town; Wonderland; Olympus Coliseum; Hollow Bastion; End of the World |
| Drops: | Defeated: Small MP x20; Small Munny x5; Medium Munny x2; Large Munny x4; Elixir (1%); Bright Crystal (2%); Defender (0.2%) |
| Weak/Resist: | Before Rescue: Gravity x0.9 After Rescue: Gravity x0.75; Stop x0.6 |
Wyvern |
|
| Image: | 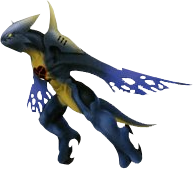 |
| Locations: | Traverse Town; Olympus Coliseum; Deep Jungle; Agrabah; Hollow Bastion; End of the World |
| Drops: | Defeated: Large HP x3; Hi-Potion (2%); Elixir (0.5%); Power Crystal (2%) |
| Weak/Resist: | Before Rescue: Gravity x0.9 After Rescue: Gravity x0.75; Stop x0.6 |
Wizard |
|
| Image: | 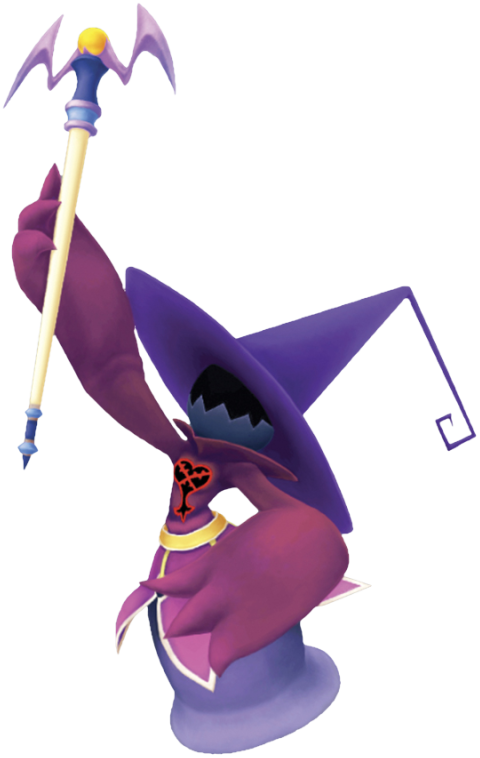 |
| Locations: | Traverse Town; Wonderland; Olympus Coliseum; Deep Jungle; Agrabah; Halloween Town; Hollow Bastion; End of the World |
| Drops: | Defeated: Small MP x10; Large MP x3; Ether (2%); Shiny Crystal (2%); Wizard's Relic (0.2%) |
| Weak/Resist: | Before Rescue: Absorbs Fire; Absorbs Blizzard; Absorbs Thunder; Gravity x0.5; Stop x0.5 After Rescue: Absorbs Fire; Absorbs Blizzard; Absorbs Thunder; Gravity x0.4; Stop x0.2 |
Invisible |
|
| Image: | 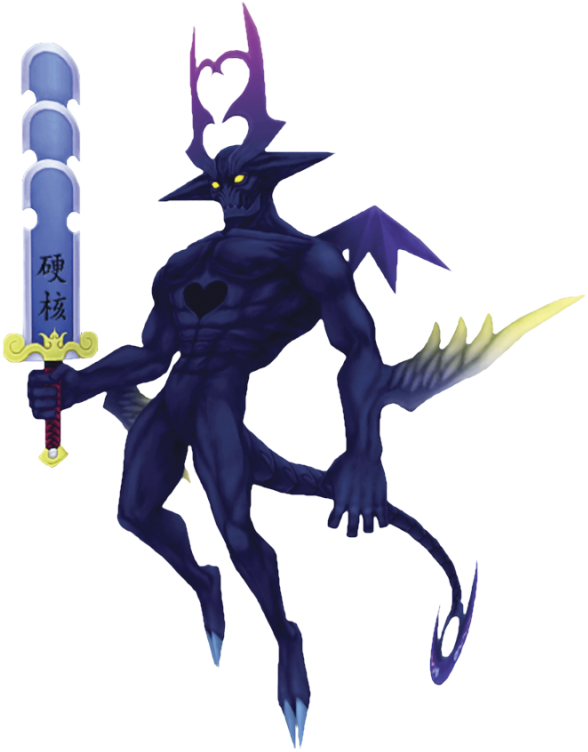 |
| Locations: | Olympus Coliseum; End of the World; World of Chaos |
| Drops: | Defeated: Large HP x3; Large MP x1; Hi-Potion (2%); Gale (6%) World of Chaos: Large HP x3; Large MP x3; Elixir (5%) |
| Weak/Resist: | After Rescue: Gravity x0.8; Stop x0.6 |
Angel Star |
|
| Image: | 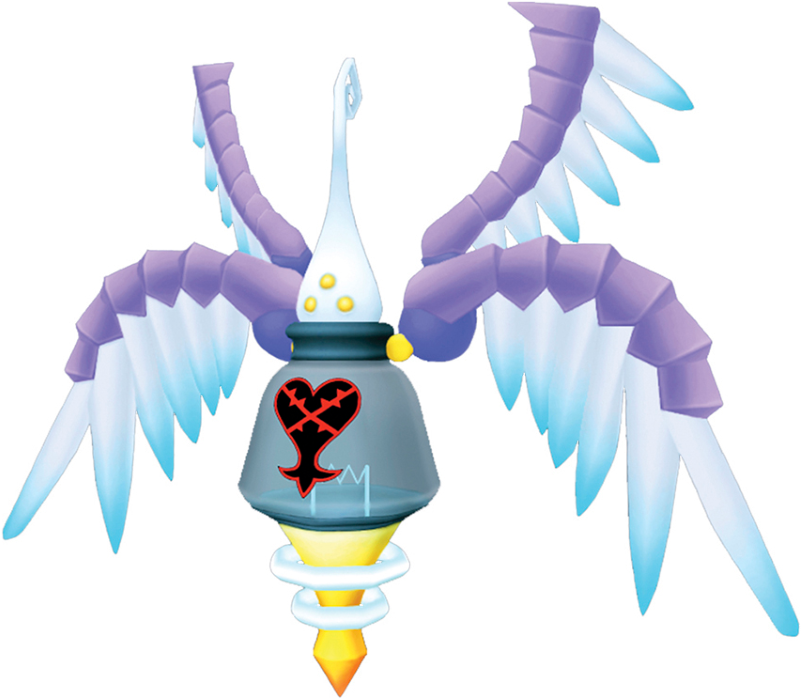 |
| Locations: | Olympus Coliseum; End of the World |
| Drops: | Defeated: Small MP x5; Large MP x3; Medium Munny x3; Large Munny x2; Ether (2%); Gale (6%); Mythril (1%) |
| Weak/Resist: | After Rescue: Fire x0.5; Blizzard x0.5; Absorbs Thunder; Gravity x0.5; Stop x0.3 |
Enemies Bosses Unique Heartless
Bosses
Our Boss Bestiary covers encounters with Bosses that appear throughout the main story, as well as Secret Bosses. Each Boss is detailed below, listed in the order you are most likely to encounter them as you progress through the game. It should be noted that unless otherwise listed under Weak/Resist, all damage types deal regular damage to all enemies.
Darkside |
|
| Image: |  |
| Locations: | Dive to the Heart; Destiny Islands; End of the World |
| Weak/Resist: | Dive to the Heart: Fire x0.49; Blizzard x0.5; Gravity x0.04; Stop x0.0; Stun x0.5 Destiny Islands: Fire x0.49; Blizzard x0.5; Gravity x0.04; Stop x0.0; Stun x0.5 End of the World: Fire x0.49; Blizzard x0.5; Gravity x0.03; Stop x0.0; Stun x0.5 |
Tidus |
|
| Image: |  |
| Locations: | Destiny Islands |
Wakka |
|
| Image: | 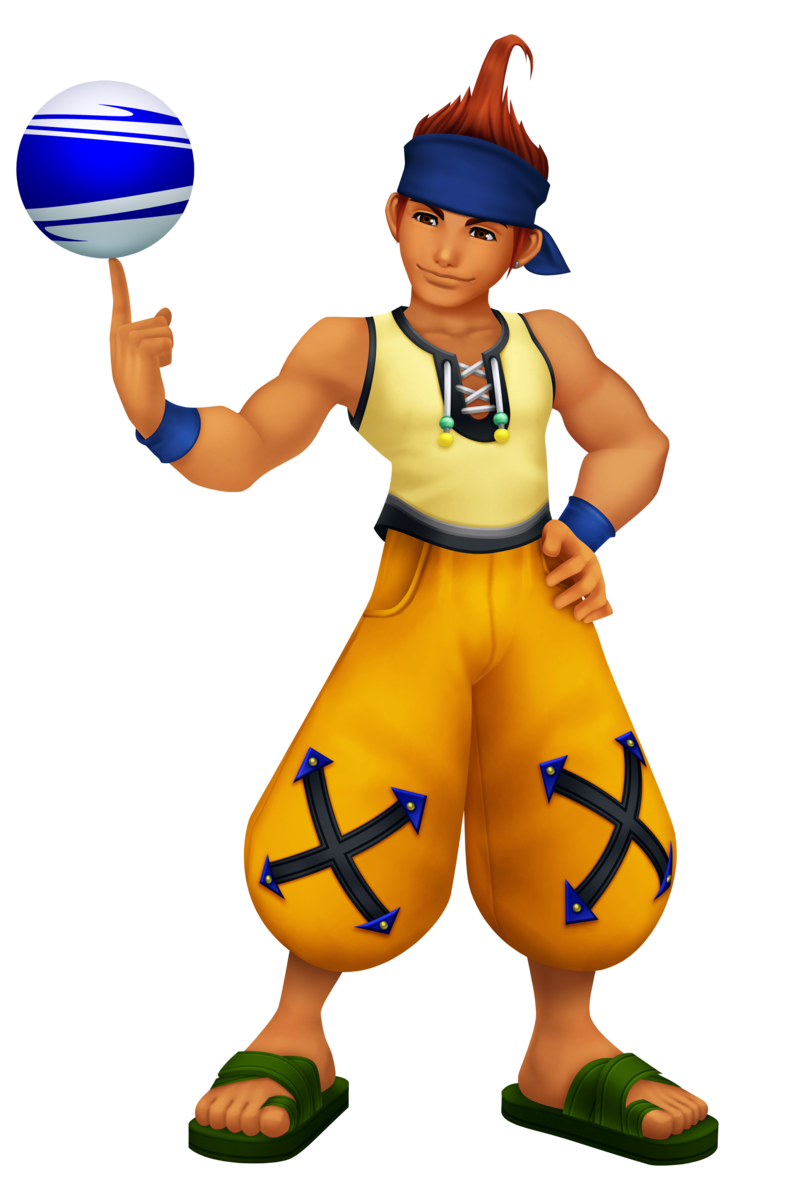 |
| Locations: | Destiny Islands |
Selphie |
|
| Image: |  |
| Locations: | Destiny Islands |
Riku (Duel) |
|
| Image: | 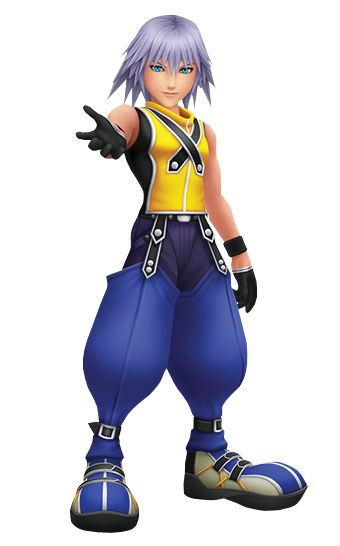 |
| Locations: | Destiny Islands |
| Weak/Resist: | Destiny Islands: Fire x0.0; Blizzard x0.0; Thunder x0.0; Gravity x0.0; Stop x0.0; Stun x0.5 |
Leon |
|
| Image: | 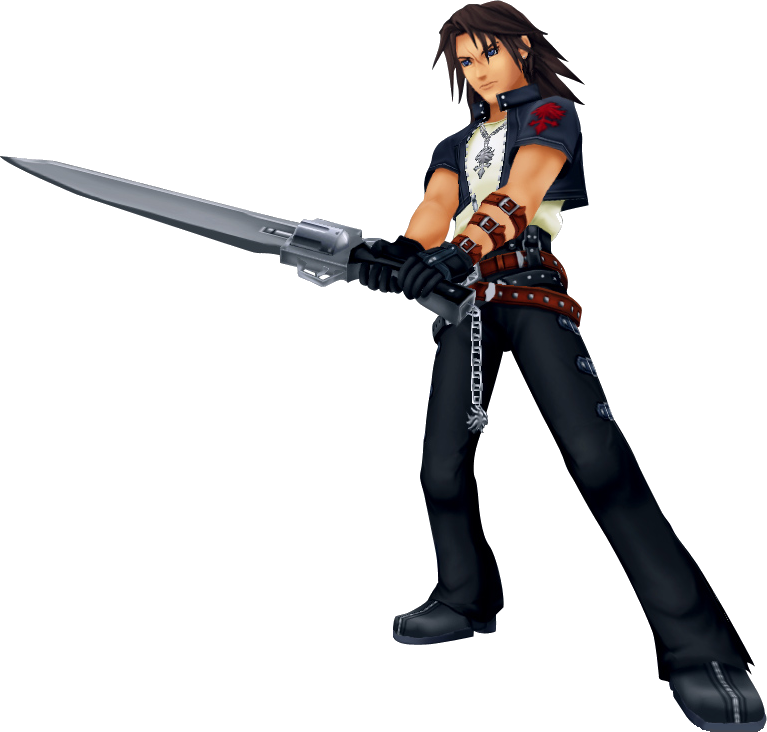 |
| Locations: | Traverse Town I; Pegasus Cup; Hades Cup |
| Weak/Resist: | Traverse Town I: Fire x0.49; Blizzard x0.5; Gravity x0.04; Stop x0.03; Stun x0.5 Pegasus Cup (Before Rescue): Fire x0.49; Blizzard x0.5; Gravity x0.04; Stop x0.3; Stun x0.5 Pegasus Cup (After Rescue): Fire x0.49; Blizzard x0.5; Gravity x0.03; Stop x0.2; Stun x0.5 Hades Cup: Fire x0.49; Blizzard x0.5; Gravity x0.03; Stop x0.2; Stun x0.5 |
Guard Armor |
|
| Image: | 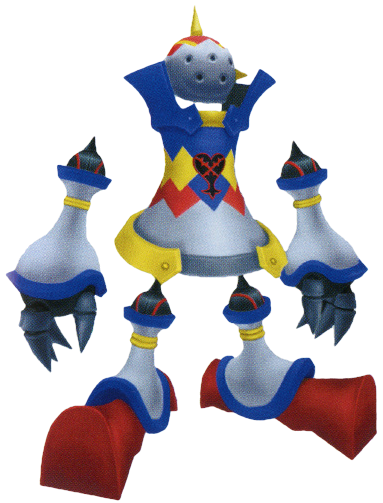 |
| Locations: | Traverse Town I; Phil Cup; Hades Cup |
| Drops: | Gauntlets: Small HP x15 Hammerlegs: Small HP x15 |
| Weak/Resist: | Traverse Town I: Fire x0.49; Blizzard x0.5; Gravity x0.04; Stop x0.0; Stun x0.5 |
Queen of Hearts |
|
| Image: |  |
| Locations: | Wonderland |
Card Soldier (Hearts) |
|
| Image: | 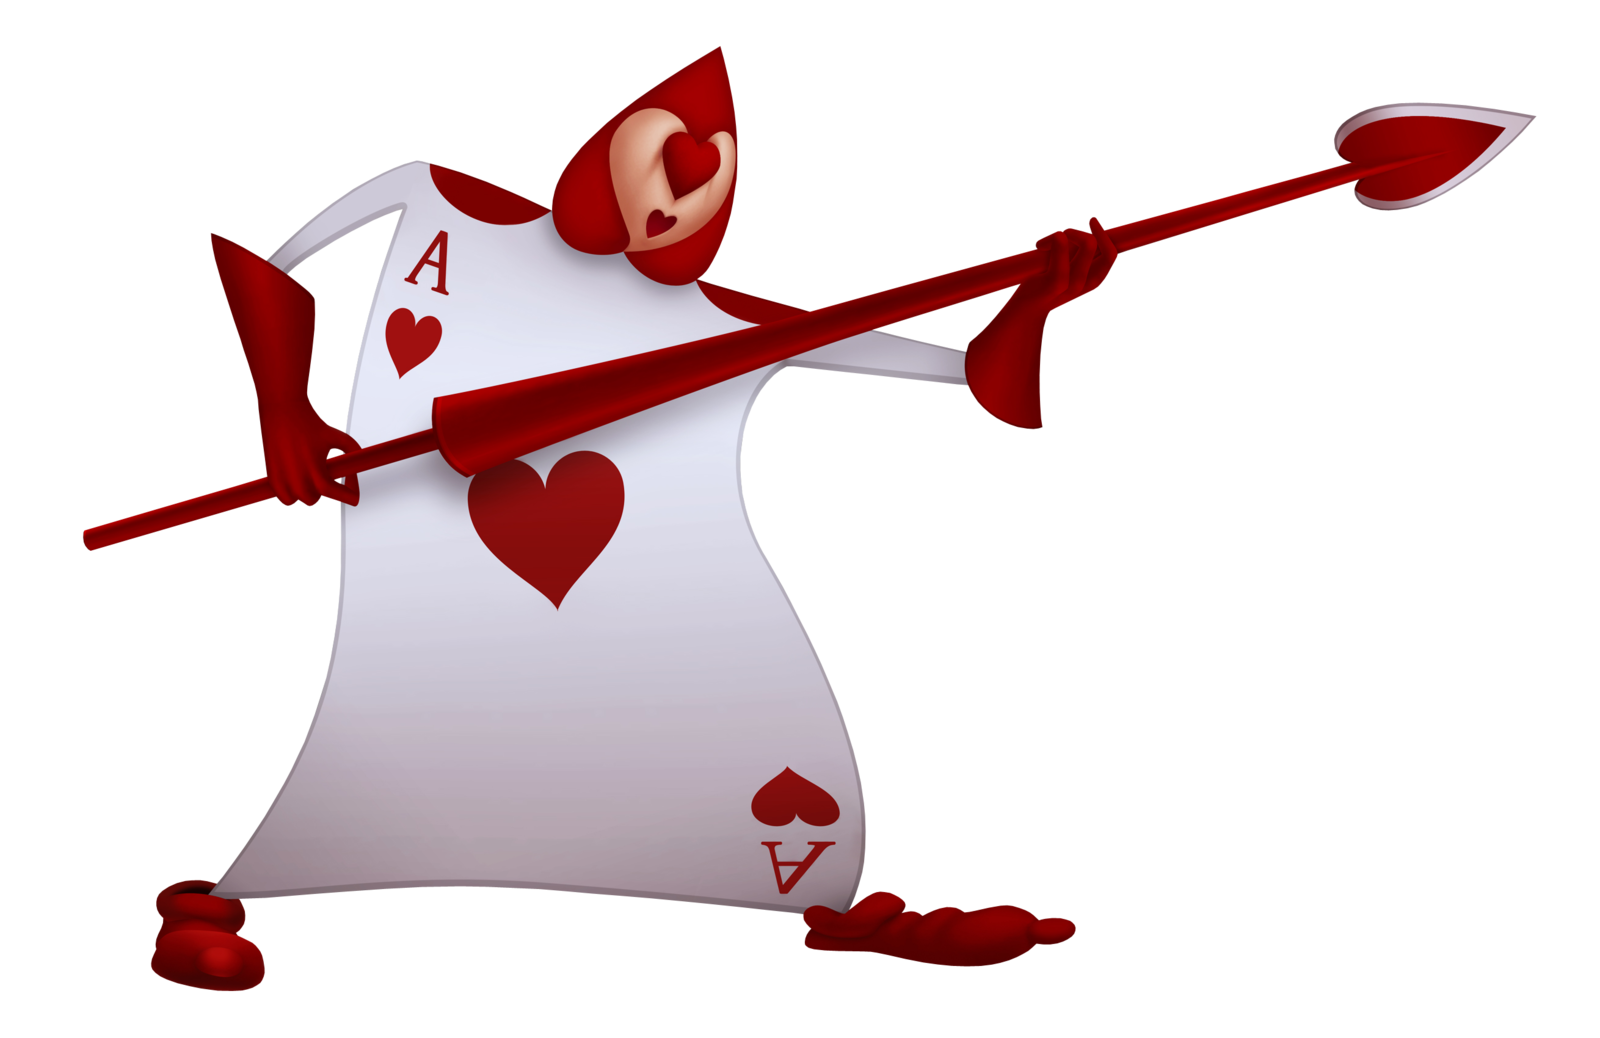 |
| Locations: | Wonderland |
Card Soldier (Spades) |
|
| Image: | 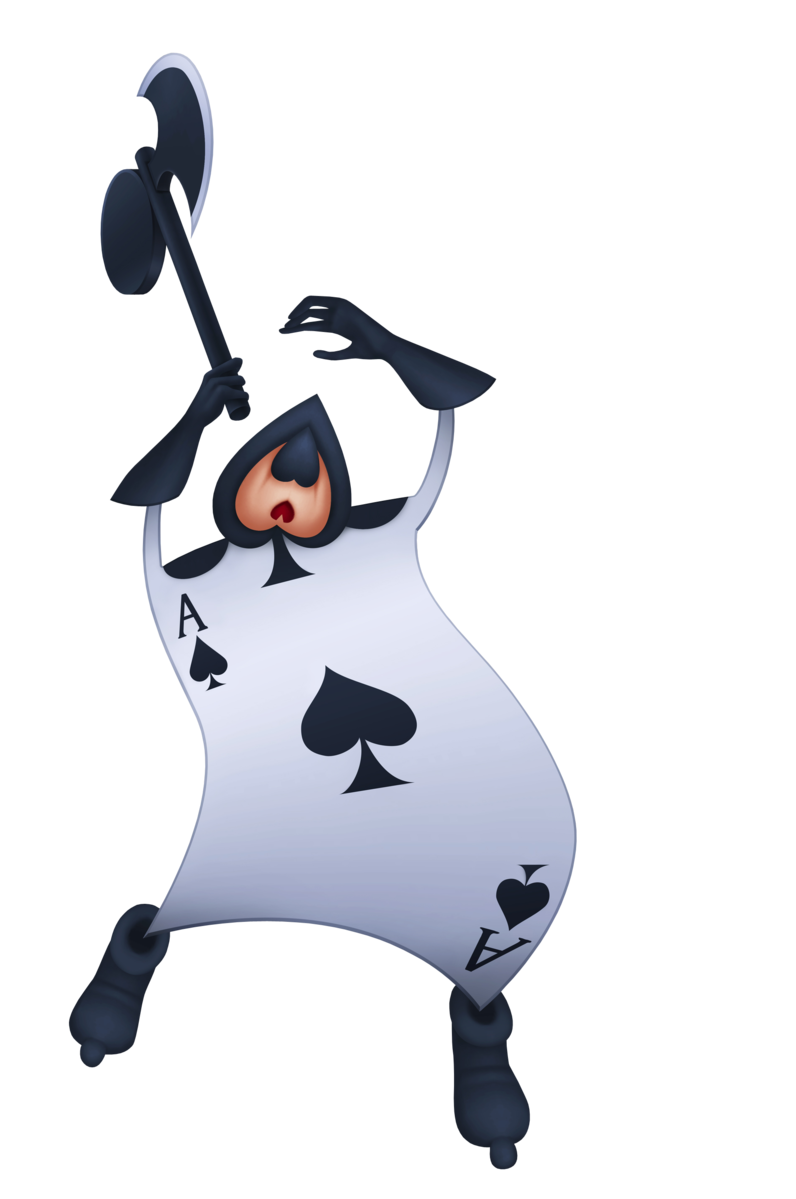 |
| Locations: | Wonderland |
Crank Tower |
|
| Image: |  |
| Locations: | Wonderland |
| Drops: | Cogwheels Destroyed: Small HP x3; Small MP x10 Tower Destroyed: Small HP x5; Small Munny x20 |
Trickmaster |
|
| Image: | 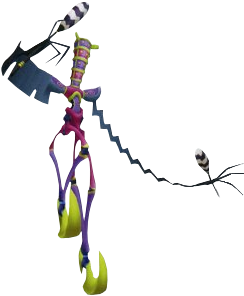 |
| Locations: | Wonderland |
| Drops: | Trickmaster is stunned: Small HP x5 Extinguish Trickmaster's torches: Small MP x20 |
| Weak/Resist: | Wonderland: Fire x0.49; Blizzard x0.5; Gravity x0.04; Stop x0.3; Stun x0.5 |
Cloud |
|
| Image: |  |
| Locations: | Olympus Coliseum I; Hercules Cup; Hades Cup |
| Weak/Resist: | Before Rescue: Fire x0.49; Blizzard x0.5; Gravity x0.04; Stop x0.3; Stun x0.5 After Rescue: Fire x0.49; Blizzard x0.5; Gravity x0.03; Stop x0.2; Stun x0.5 |
Cerberus |
|
| Image: | 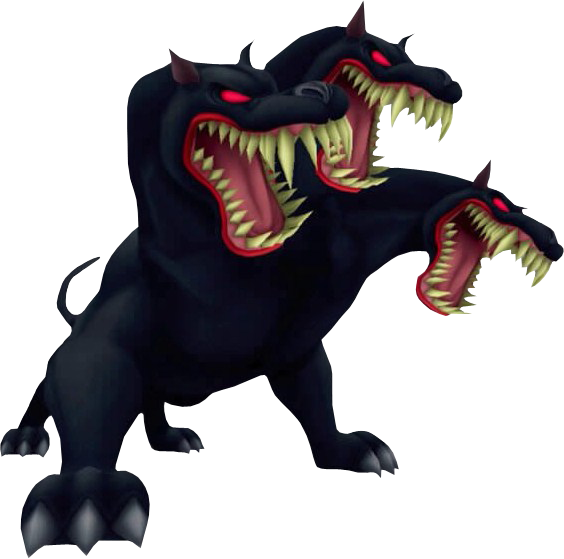 |
| Locations: | Olympus Coliseum I; Hades Cup |
| Weak/Resist: | Before Rescue: Fire x0.49; Blizzard x0.5; Gravity x0.04; Stop x0.3; Stun x0.5 After Rescue: Fire x0.49; Blizzard x0.5; Gravity x0.03; Stop x0.2; Stun x0.5 |
Sabor |
|
| Image: | 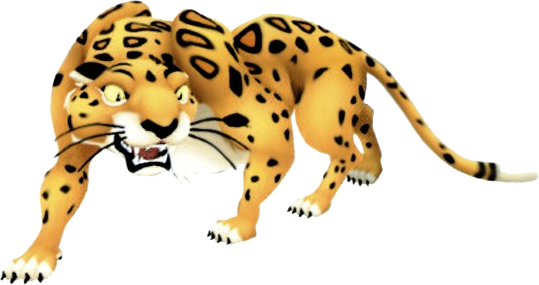 |
| Locations: | Deep Jungle |
| Weak/Resist: | Deep Jungle: Fire x0.49; Blizzard x0.5; Gravity x0.04; Stop x0.3; Stun x0.5 |
Clayton |
|
| Image: |  |
| Locations: | Deep Jungle |
| Weak/Resist: | Deep Jungle: Fire x0.49; Blizzard x0.5; Gravity x0.04; Stop x0.3; Stun x0.5 |
Stealth Sneak |
|
| Image: | 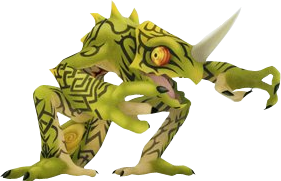 |
| Locations: | Deep Jungle; Hades Cup |
| Drops: | Deep Jungle: Mega-Potion (100%) |
| Weak/Resist: | Deep Jungle: Fire x0.49; Blizzard x0.5; Gravity x0.04; Stop x0.0; Stun x0.5 Hades Cup: Fire x0.49; Blizzard x0.5; Gravity x0.03; Stop x0.0; Stun x0.5 |
Pot Centipede |
|
| Image: | 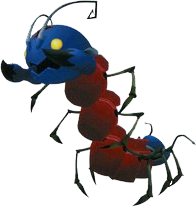 |
| Locations: | Agrabah |
| Drops: | Body breaks apart: Small HP x5 |
| Weak/Resist: | Agrabah: Fire x0.49; Blizzard x0.5; Gravity x0.04; Stop x0.3; Stun x0.5 |
Cave of Wonders Guardian |
|
| Image: | 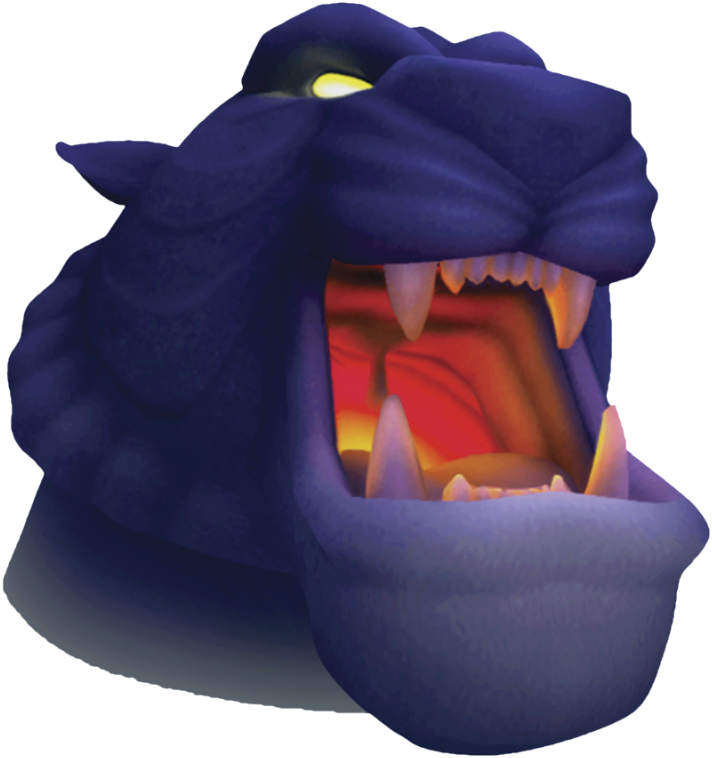 |
| Locations: | Agrabah |
| Weak/Resist: | Agrabah: Fire x0.49; Blizzard x0.5; Gravity x0.04; Stop x0.3; Stun x0.5 |
Genie |
|
| Image: |  |
| Locations: | Agrabah |
| Drops: | Sora is attacked: Small HP x6 The Party is attacked: Small HP x2 Genie claps: Small HP x5; Small MP x5; Small Munny x5 Genie is extremely pleased: Small HP x5; Small MP x11; Small Munny x5; Medium Munny x5 Genie strikes the water: Small MP x6 Genie strikes the ground: Medium Munny x5 |
| Weak/Resist: | Genie cannot be attacked |
Jafar |
|
| Image: |  |
| Locations: | Agrabah |
| Weak/Resist: | Agrabah: Fire x0.49; Blizzard x0.5; Gravity x0.04; Stop x0.3; Stun x0.5 |
Jafar-Genie |
|
| Image: | 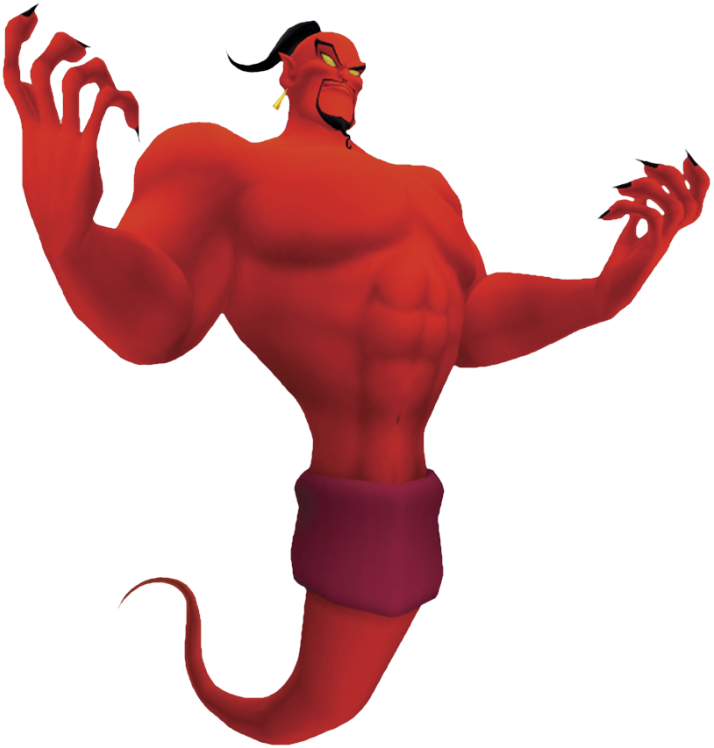 |
| Locations: | Agrabah |
| Drops: | Combo finisher while Iago is resting: Small HP x5; Large HP x1; Small MP x5; Large MP x1 |
| Weak/Resist: | Agrabah: Fire x0.0; Blizzard x0.0; Thunder x0.0; Gravity x0.00; Stop x0.0 |
Enemies Bosses Unique Heartless
Unique Heartless
Our Unique Heartless Bestiary covers encounters with enemies found under the “Unique Heartless” section of our Mini Games guide. Each enemy is detailed below, listed in the order you are most likely to encounter them as you progress through the game. It should be noted that unless otherwise listed under Weak/Resist, all damage types deal regular damage to all enemies.
[table “kh-fm-unique-heartless-bestiary” not found /]