
← Back to Synthesis Materials List
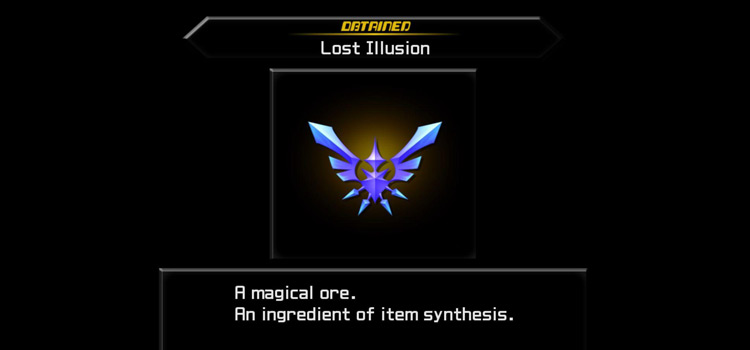
| Lost Illusions | |
|---|---|
| Obtained From |
|
| Best Farming Spot |
|
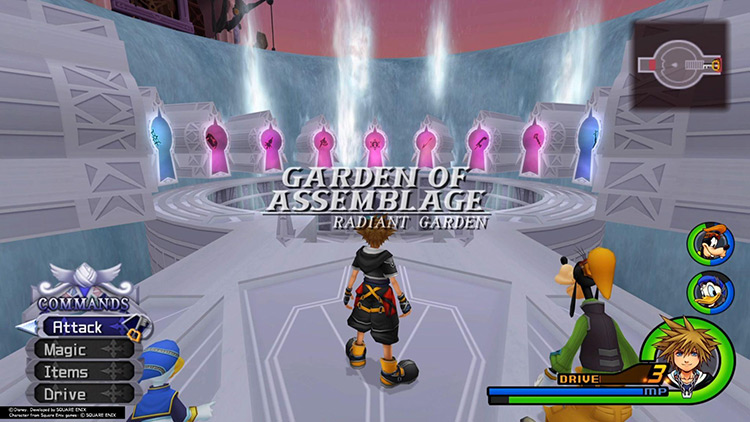
The only way to farm Lost Illusions is to make your way to the Garden of Assemblage and fight the Data versions of Organization XIII members.
It’s best to go through them and find which one is easiest for you to defeat and then go to town on that one. It’s different for everybody.
The rematches are substantially harder and getting to the Garden is a trial all on its own, so you’re going to want to be high level (60+) and have a good set of weapons and accessories.
Basically, get powerful.
While picking which Data rematch to farm is up to you, the path to the rematches is kind of tricky, so let’s cover it in more detail.
Getting to the Garden of Assemblage
The first step is to simply progress through the game.
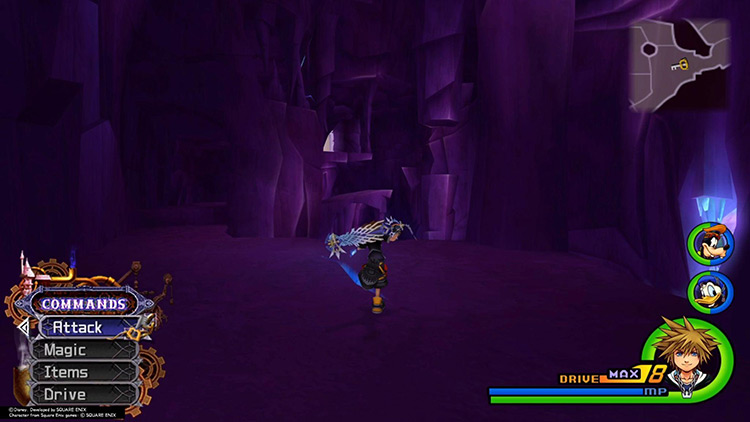
You’ll need to get to the 1000 Heartless Battle and meet Sephiroth. Once Hollow Bastion renames itself, you can access the Cave of Remembrance.
The entrance to the cave is right next to the Postern save point.
It’s super easy to spot.
To get through the entire cave and get to the Garden, you’re going to need all of Sora’s Drive Forms, especially his Final Form, which can only be earned in the final dungeon.

Once you enter the Cave, you’ll immediately come across a high ledge.
You’ll need to use Sora’s Valor Form and its High Jump or level it up so Sora learns at least the LV2 version of the skill.
Once you make the jump, you’ll end up in the Depths proper.
To get to the progression door, you’ll need to use High Jump a lot.
It helps a lot to have your forms leveled up, so you have access to at least LV3 of your movement abilities.
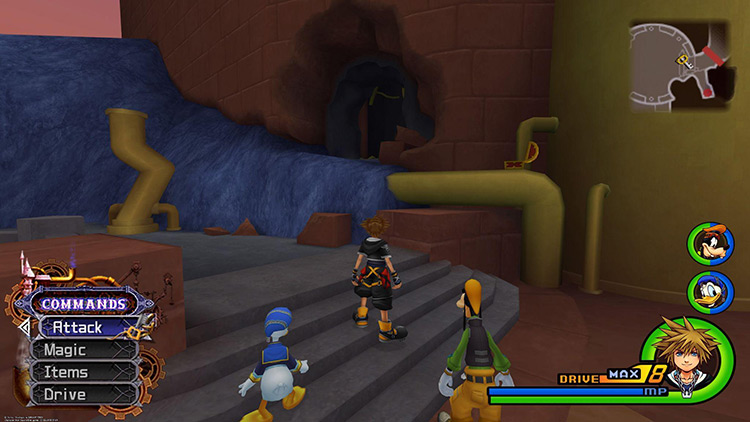
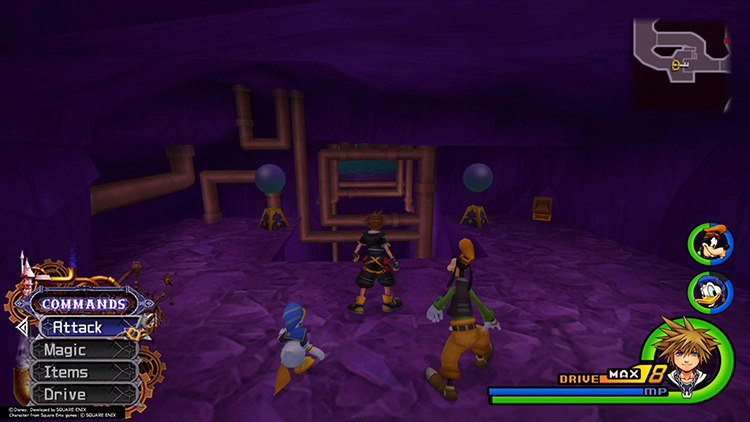
Once you get through the door, it’s time for the Mineshaft–after you clear a quick obstacle.
You’ll need a high-level Air Dodge for this one.
The idea is to jump once so go under the first set of pipes and then double-jump onto the platform behind them. This is probably gonna take you a few tries.
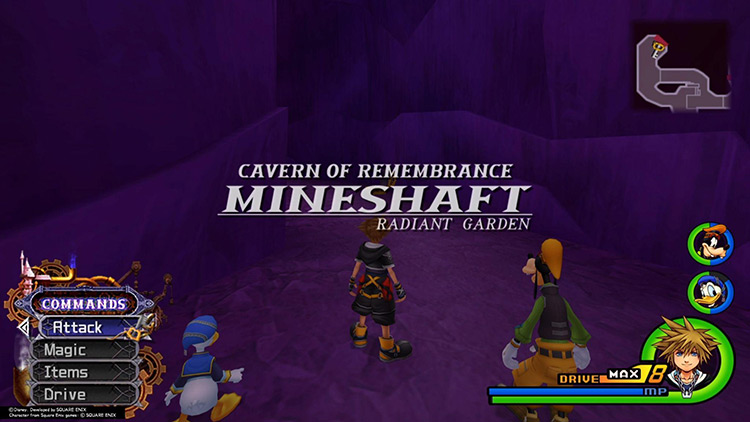
The Mineshaft will lay dormant when you first enter.
You’ll have to drop down and find an off-shoot area with three valves in order to power it up.
Once you’ve got the machinery working, you can start navigating.
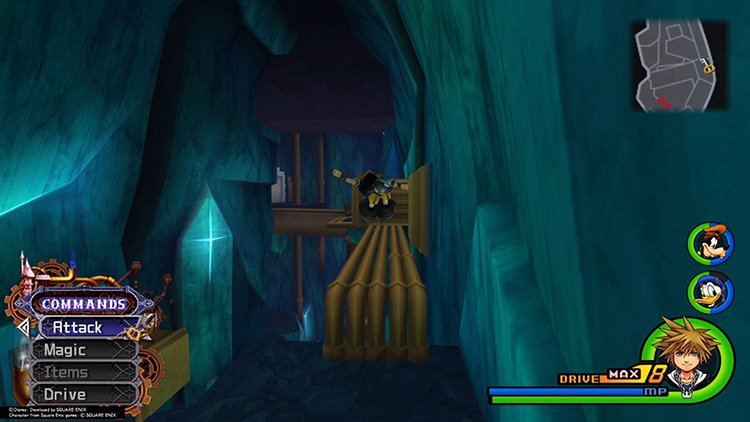
The next obstacle you’ll come across requires use of Wisdom Form’s Quick Run.
You’ll need it at least at LV3 to get through here.
Stand at the edge and hold the dash button.
If you have enough, you should make it through easy-peasy. After this is the fantastic Engine Chamber, which is a real pain in the patooka.
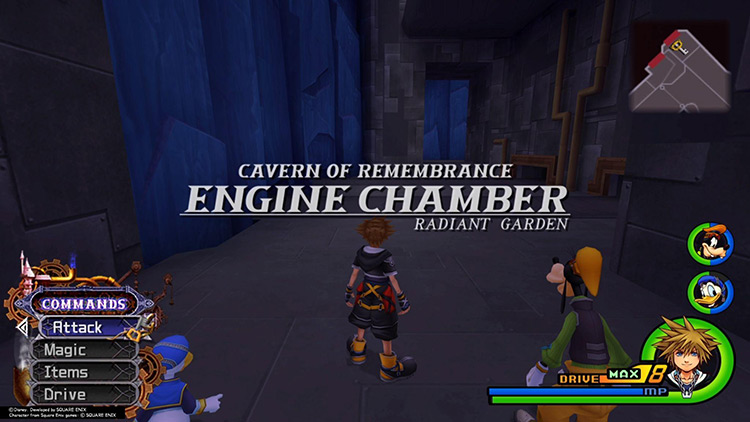
If you’re not a super-high level or if this is your very first time through, this might be a stopping point (at least for a while).
The heartless are tough and attack in relentless swarms and you have to deal with them while trying to navigate conveyor belts on the floors and damaging steam bursts from the pipes.
Oh, and the steam knocks you back and probably back down to the entrance.
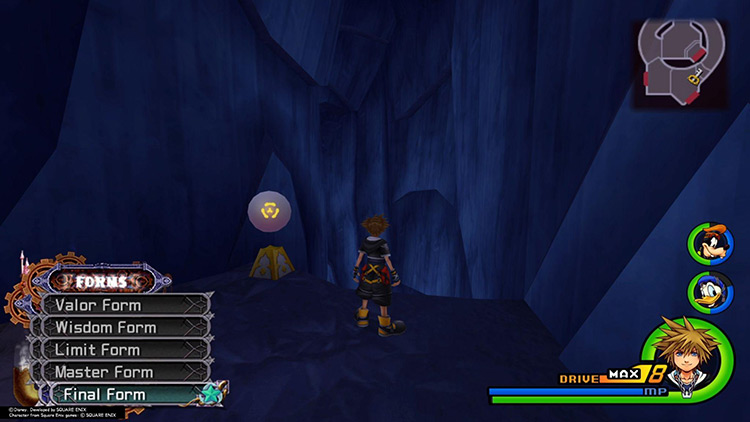
You’ll need Glide for this last part, but it has to be Final Forms MAX level Glide.
Sora’s learned glide isn’t fast enough, so in order to proceed you’re gonna have to level up Final Form.
Once you get there, it’s super easy to just hit the Drive and glide to the next door, which puts you in the Transport to Remembrance.
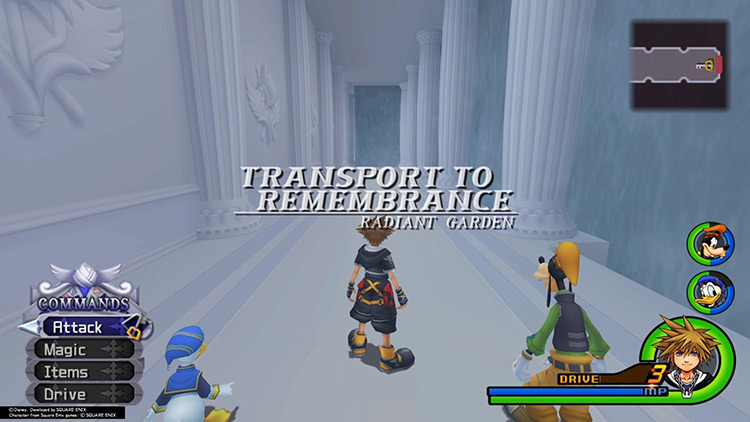
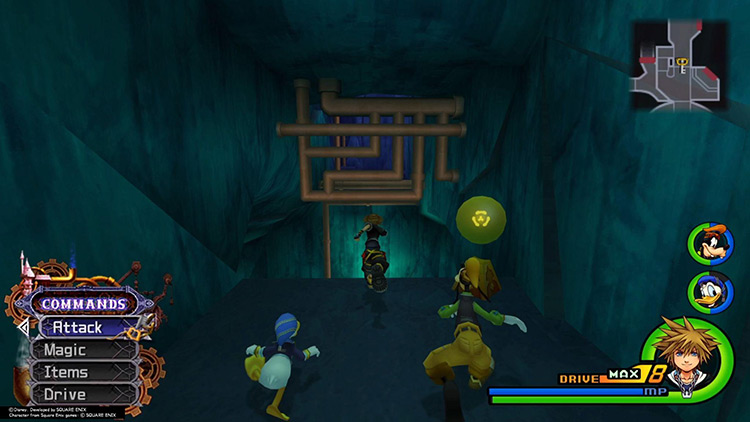
In this hallway, you’ll have to fight three waves of Nobodies.
They’re all the varieties you’ve seen before, but cranked up to 11.
The Nobodies here are supercharged and can deal a ton of damage. This is a real trial and a test of your combat prowess in order to get through.
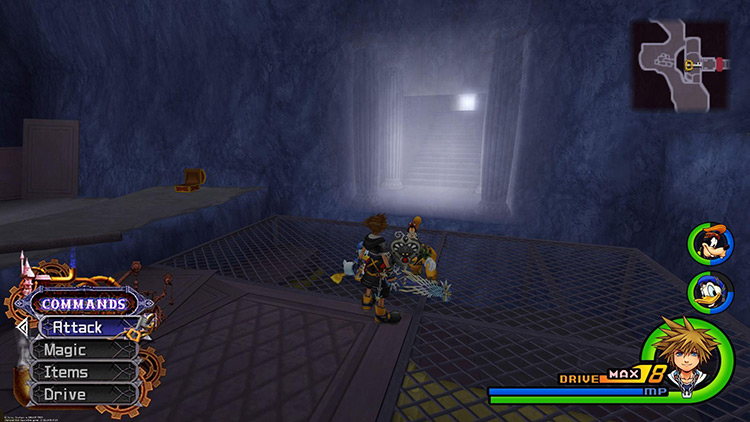
Once you do it, you’ll finally access the Garden of Assemblage and you can start practicing against the Data versions of the Organization XIII.
Every time you beat one of the data versions in a fight, you earn a Lost Illusion–it’s been a long road to this end.
Unlocking the Shortcut
If you run through the Garden you’ll come out at the Reconstruction Site, which unlocks the door and a shortcut right there so you don’t have to go through the whole cave again.
Using Lost Illusions
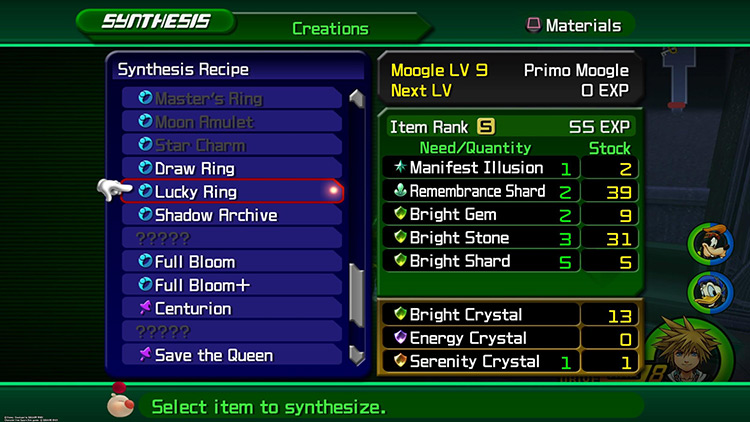
You’ll need 10 Lost Illusions to make one of everything that requires them via synthesis.
But since the stuff you can make is so good, you’ll probably want more.
The Lucky Ring and Full Bloom+ are both amazing accessories for farming and fighting, respectively.
| Recipe | Items Required | Description |
|---|---|---|
| Shock Charm |
|
Accessory DEF +3 Thunder RES+40% |
| Shock Charm+ |
|
Accessory DEF +3 Thunder RES+45% |
| Shade Archive |
|
Accessory AP+5 MAG+3 |
| Shade Archive + |
|
Accessory AP+5 MAG+3 MP Haste |
| Centurion |
|
Donald Weapon STR+13 MAG+3 |
| Centurion+ |
|
Donald Weapon STR+13 MAG+3 Damage Control |
| Full Bloom |
|
Accessory STR +3 AP +5 |
| Full Bloom+ |
|
Accessory STR + 3 AP +5 MP Haste |
| Frozen Pride |
|
Goofy Shield STR +5 |
| Frozen Pride+ |
|
Goofy Shield STR +5 MP Hastega |