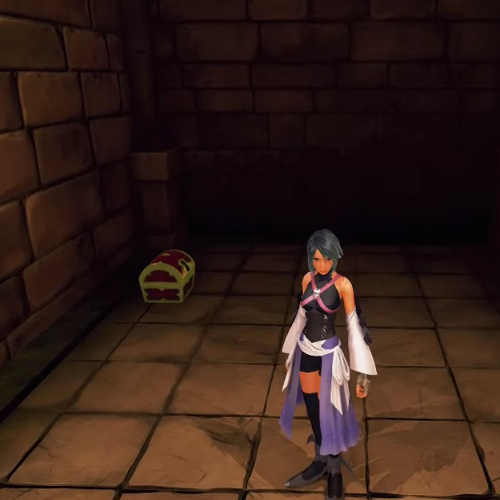
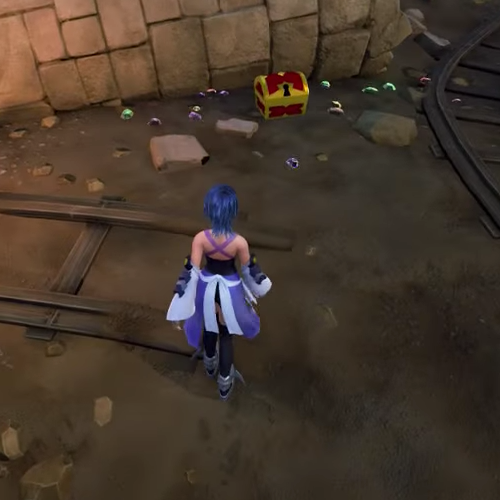
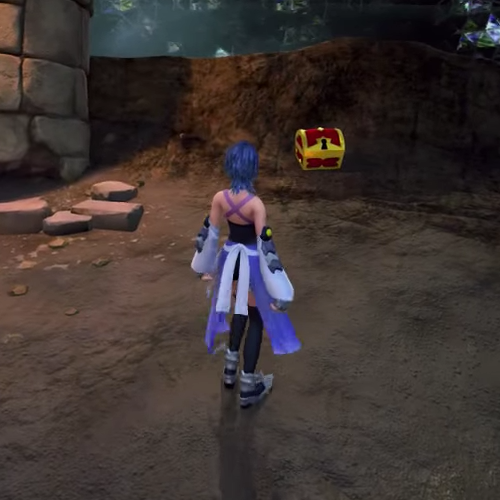
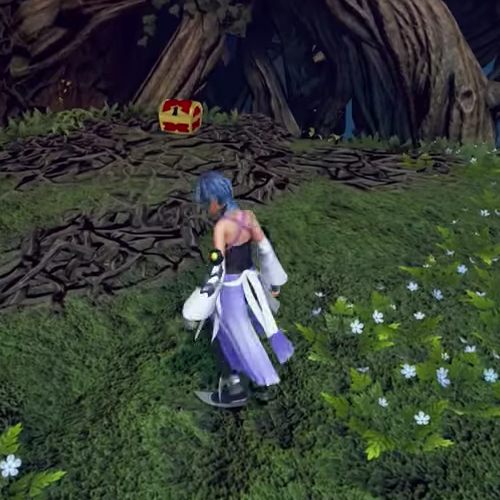
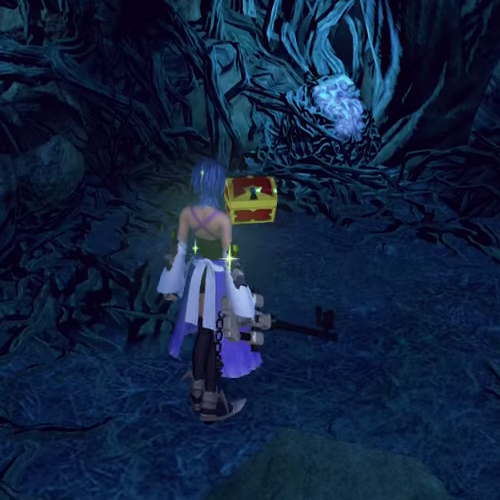
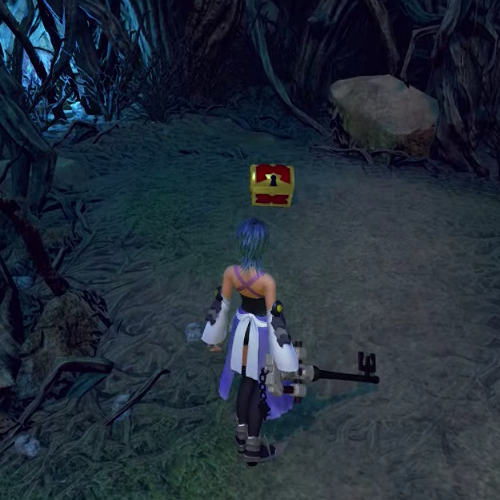
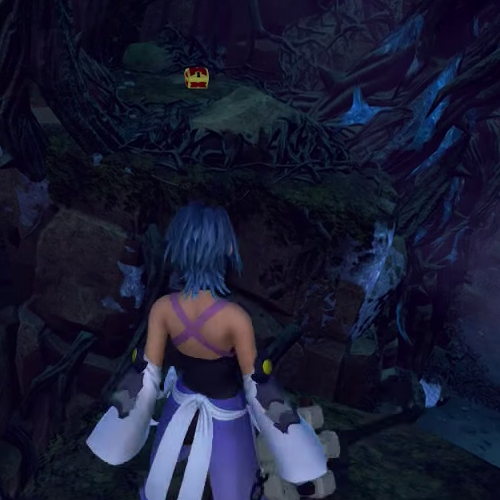
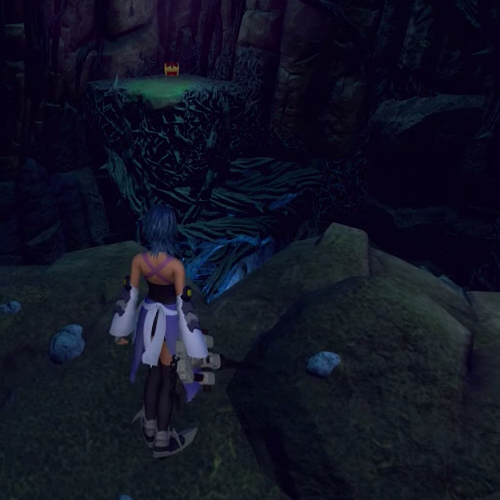
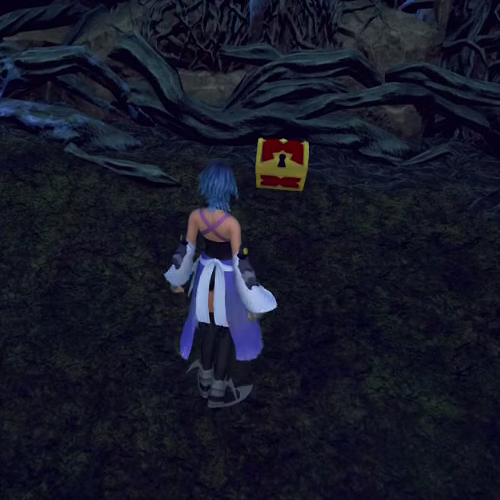
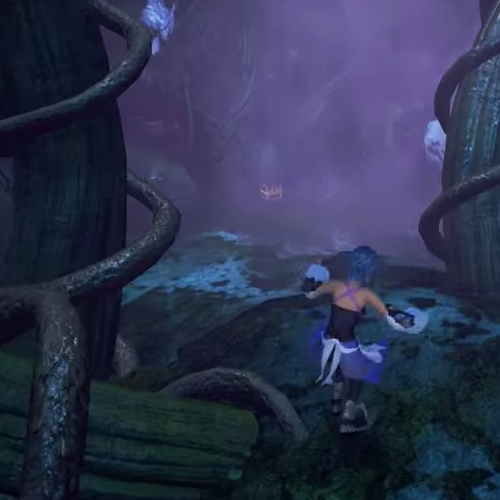
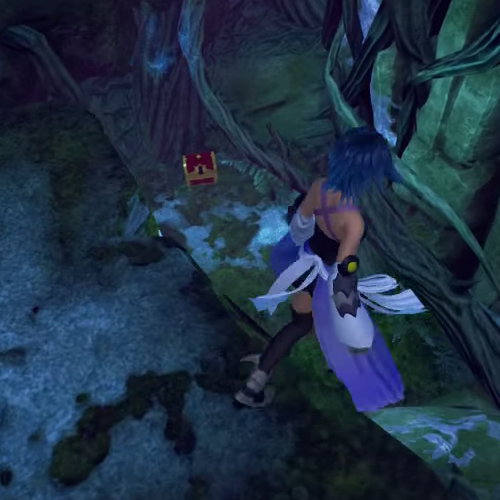
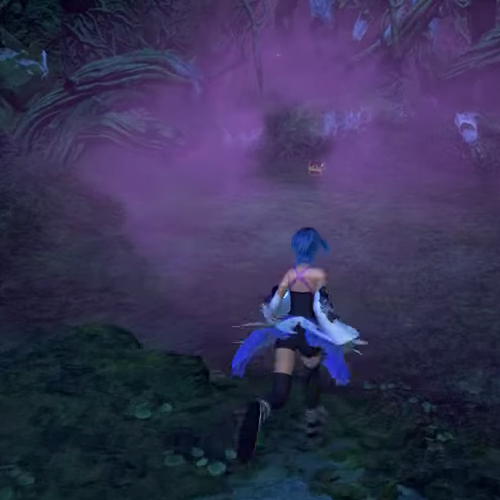
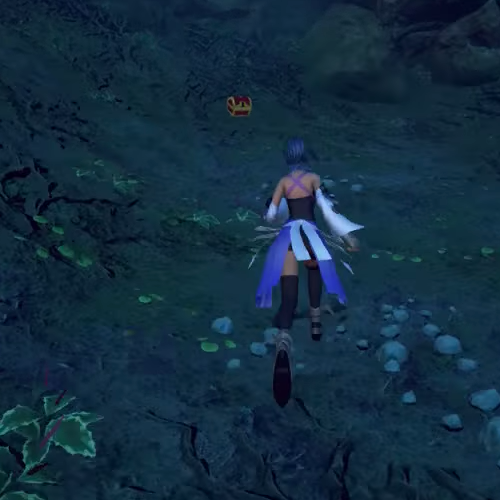
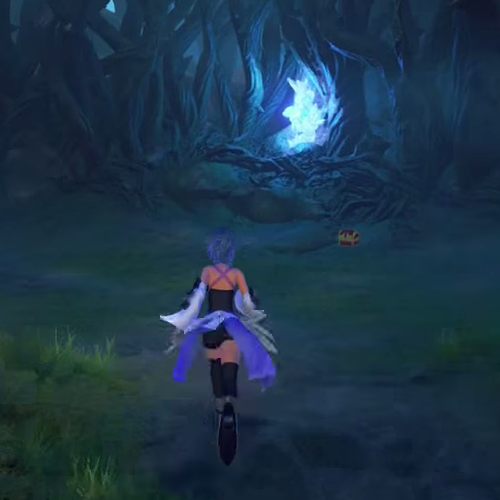
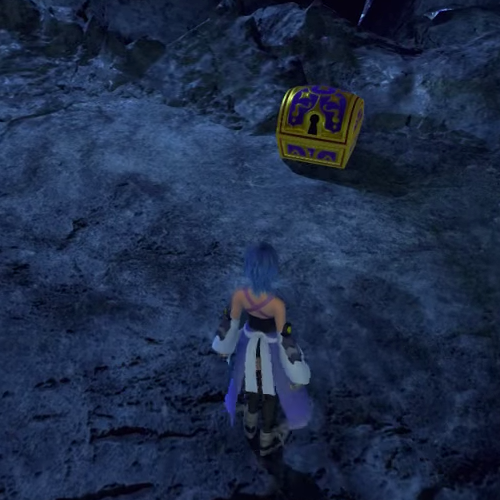
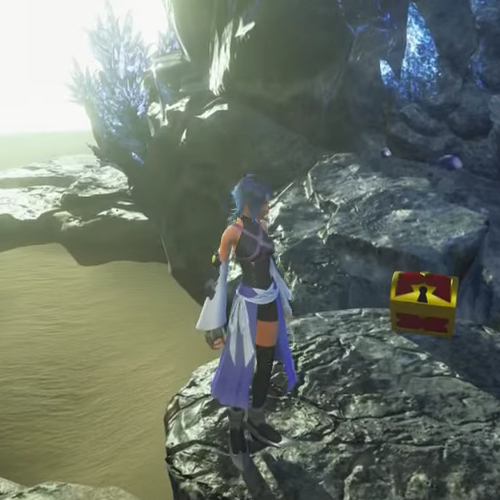
 | Main Road | 1/1 | Potion | As you're nearing the entrance to Castle Town, the Treasure Chest will be right in front of you. |
 | Castle Town | 1/9 | Castle Town Area Map | After the cutscene where the bridge collapses, there will be a large Treasure Chest on the righthand side of the archway leading back into town. |
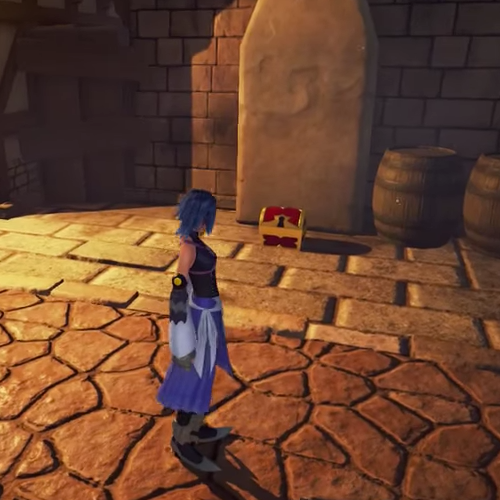
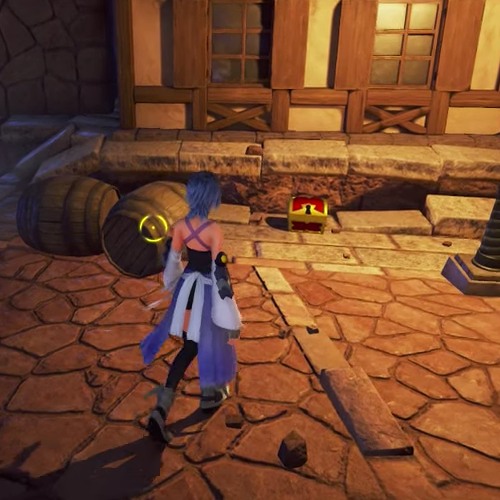
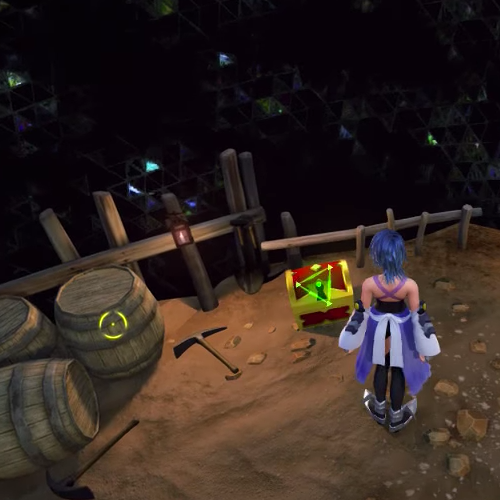
 | Castle Town | 2/9 | Ether | From the Save Point near the fountain in the center of town, hug the righthand side and turn right between the first set of houses you come to. Then turn left, and the Treasure Chest will be on the backside of the house, near some barrels. |
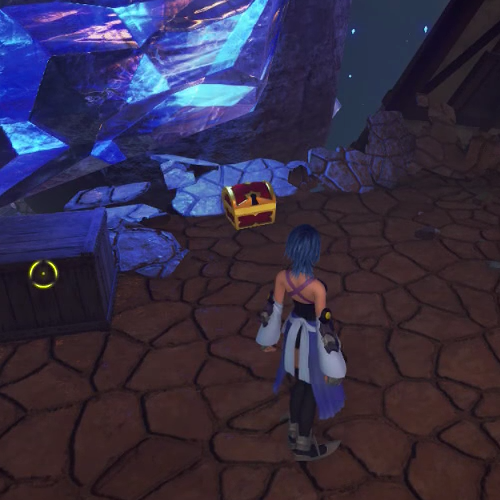
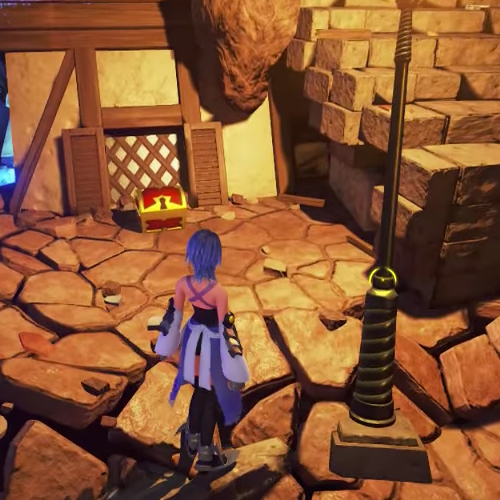
 | Castle Town | 3/9 | Potion | From the Save Point near the fountain in the center of town, head to the leftmost awning and turn left. The Treasure Chest is straight ahead, along the wall of the crystal cliff. |
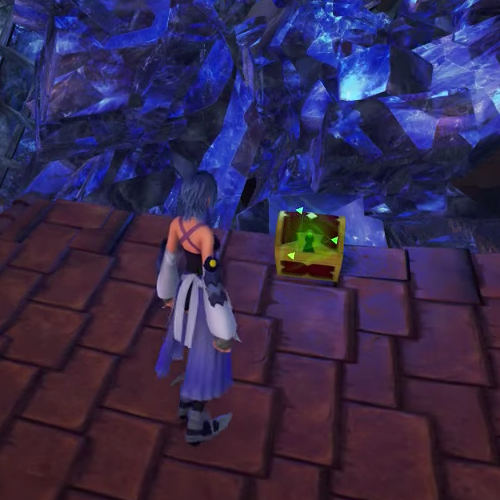
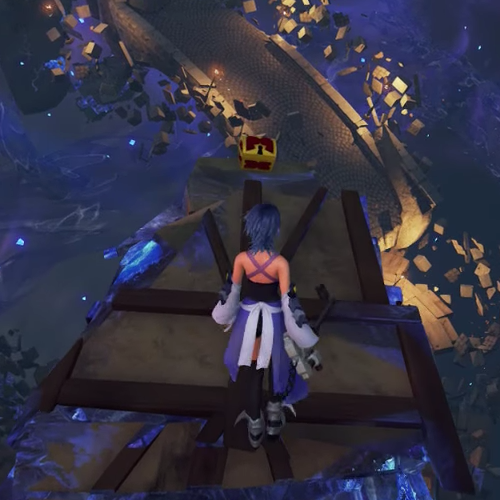
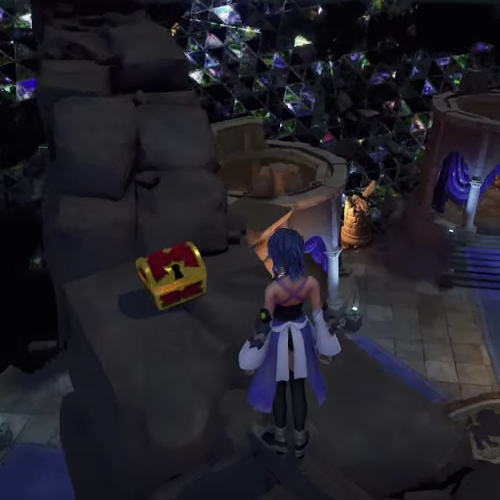
 | Castle Town | 4/9 | Potion | From the Save Point near the fountain in the center of town, head straight back and climb the stairs along the back wall. Round the corner to the right and you'll come to a split in the path: the left split ascends some platforms while the right path descends to a circular courtyard. Take the left path leading up, and the Treasure Chest will be right in front of you after climbing a few platforms. |
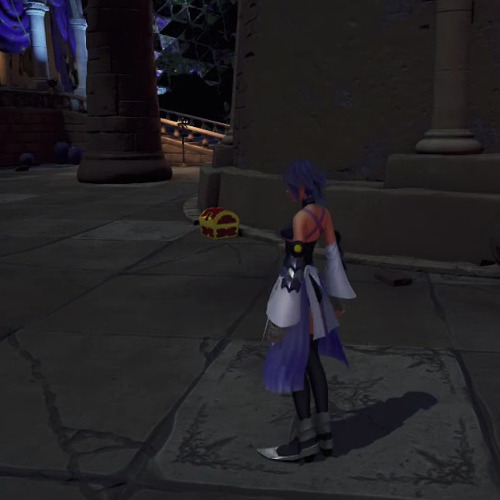
 | Castle Town | 5/9 | Ether | Return to the split mentioned above, and take the right path this time, descending to the circular courtyard. The Treasure Chest is next to the lamp post opposite the location of the Gear. |
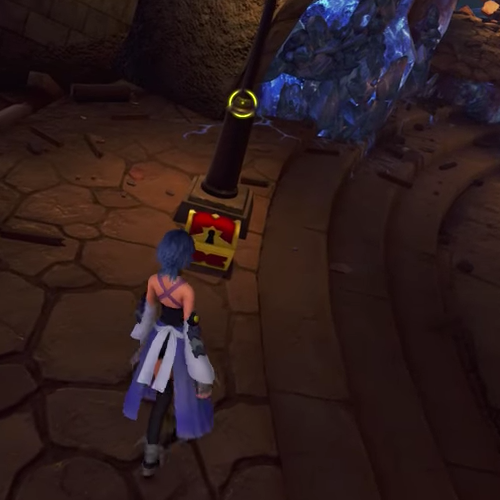
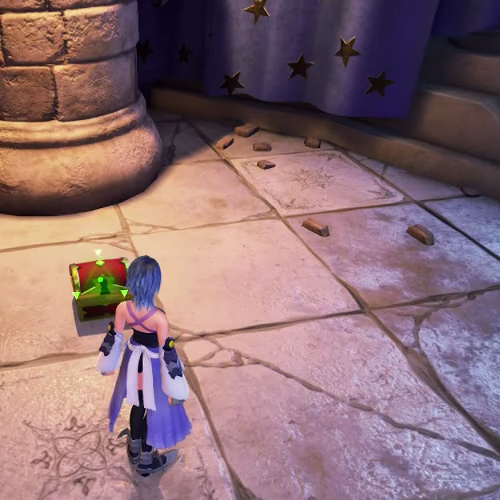
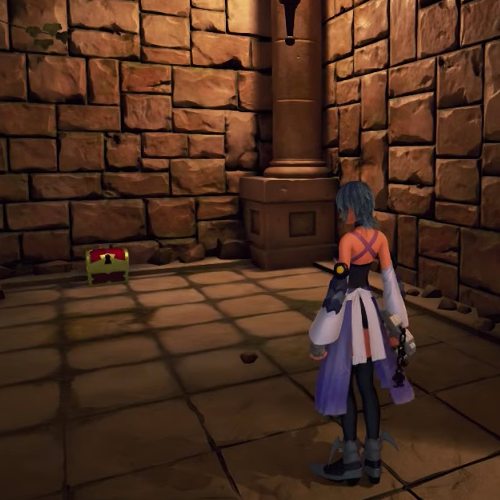
 | Castle Town | 6/9 | Virgo Relic | Available only after saving a file with Clear Data. From the Save Point near the fountain in the center of town, head straight back and climb the staircase along the back wall. Turn immediately to your left, and the Treasure Chest will be near the lamp post. |
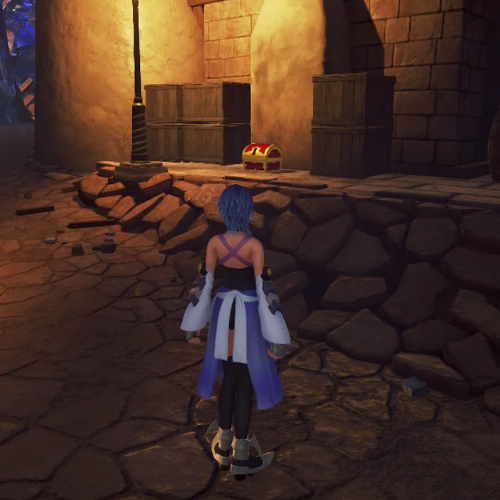
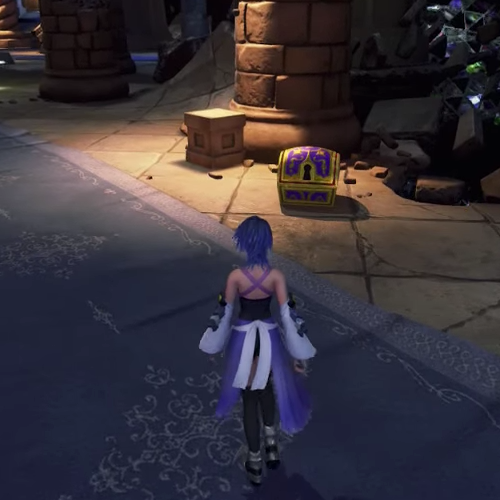
 | Castle Town | 7/9 | Aries Relic | Available only after saving a file with Clear Data. From the Save Point near the fountain in the center of town, head straight back and climb the platforms to the right of the staircase along the back wall. The Treasure Chest will be straight ahead on your right, next to a stack of four boxes. |
 | Castle Town | 8/9 | Sagittarius Relic | Available only after saving a file with Clear Data. Return to where the Virgo Relic was found, and take the left path at the split, leading upward. Continue climbing the platforms that take you above the town, and follow the path of platforms to your left. You'll need to use the Doubleflight and Air Slide abilities to span the gap to a large floating house. Jump across the remaining nearby platforms, and the Treasure Chest will be at the end of this path, at the highest point in the town. |
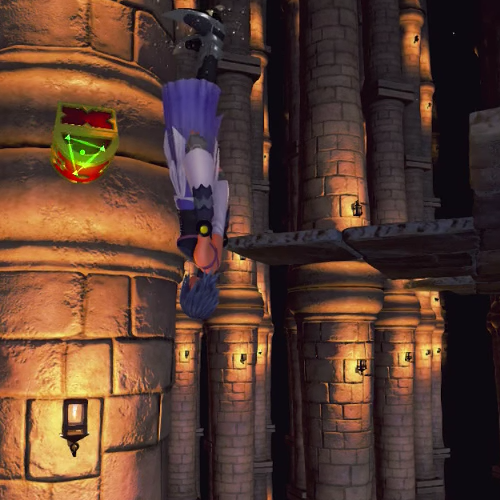
 | Castle Town | 9/9 | Aquarius Relic | Available only after saving a file with Clear Data. Return to where you found Treasure Chest 3/9 and climb the platforms to the left of that Treasure Chest. When you reach the segment where you must hop across the tops of the lamp posts, cross and then turn back and drop down. The Treasure Chest will be right in front of you. |
 | The World Within | 1/13 | The World Within Area Map | Upon entering The World Within, the Treasure Chest will be on your right. |
 | The World Within | 2/13 | Mega-Potion | Climb to the top of the archway above the center of the main room using the nearby columns. |
 | The World Within | 3/13 | Mega-Ether | Move counter-clockwise from the Save Point and look at the first mirror. The room is filled with Treasure Chests, but only one of them is closed while the rest are all open. Enter the mirror and open the Treasure Chest that was closed before you entered. It will be the one closest to the exit mirror, on your left. |
 | The World Within | 4/13 | Potion | From the main room, enter the mirror that leads to the Labyrinth. Locate the first glowing pillar and attack it. Examine the pillar to reverse the room's gravity, then open the Treasure Chest to the right of the pillar. |
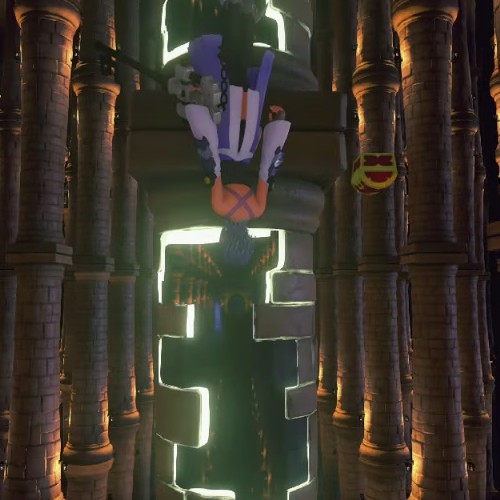
 | The World Within | 5/13 | Hi-Potion | Continuing from Treasure Chest 4/13, locate and attack the 2nd and 3rd glowing pillars in the room. Upon examining the 3rd and reversing the room's gravity again, the Treasure Chest will be next to the pillar directly in front of the exit mirror. |
 | The World Within | 6/13 | Hi-Potion | From the main room, enter the mirror that leads to the Endless Staircase. Ascend the staircase and examine the mirror twice. The Treasure Chest will be in a newly-revealed room to your left when you respawn at the bottom of the staircase. |
 | The World Within | 7/13 | Megalixir | From the main room, enter the mirror that leads to the Mine. Continue along the main path until you reach the area with the rotating platform in the mirror, just before the exit. If you're facing the exit, there is a platform high up off to the left. Examine the central mirror when the rotating ramp is facing out toward that platform to materialize a path up to it. Ascend the path and jump to the platform to find this Treasure Chest. |
 | The World Within | 8/13 | Hi-Potion | Continuing from Treasure Chest 7/13, return down the ramp to the central mirror and realign the ramp so that it points to the exit. Ascend the ramp and the Treasure Chest will be to the left of the exit mirror. |
 | The World Within | 9/13 | Cancer Relic | Available only after saving a file with Clear Data. In the main room, this Treasure Chest is behind the altar of the mirror that leads to the Endless Staircase. |
 | The World Within | 10/13 | Pisces Relic | Available only after saving a file with Clear Data. From the main room, enter the mirror that leads to the Endless Staircase. The Treasure Chest will be immediately behind you. |
 | The World Within | 11/13 | Gemini Relic | Available only after saving a file with Clear Data. Return to the Labyrinth and examine the first two glowing pillars. Make your way to the altar that houses the exit mirror, and look two pillars to the right of the pillar where you found Treasure Chest 5/13. This Treasure Chest will be next to that pillar. |
 | The World Within | 12/13 | Leo Relic | Available only after saving a file with Clear Data. Return to the Mine and follow along the main path. You'll come across the Treasure Chest near one of the mirrors. |
 | The World Within | 13/13 | Libra Relic | Available only after saving a file with Clear Data. Continue from where the Leo Relic was found and make your way up to the large open area where the Heartless typically spawn. The Treasure Chest will be along the outer edge of the platform. |
 | Forest of Thorns | 1/12 | Forest of Thorns Area Map | Just ahead of the first Save Point, the Treasure Chest will be to your right. |
 | Forest of Thorns | 2/12 | Mega-Potion | Continue up the main path until you reach a large, open room with climbable pillars. Ascend the pillars and ride the spiraling rail to a platform high above the room. Locate a second platform nearby and jump the gap to find this Treasure Chest. |
 | Forest of Thorns | 3/12 | Ether | Upon reaching the second Save Point, face the left-side wall and locate a patch of red thorns. Cast a Firaga spell to break them and reveal the Treasure Chest in a small alcove on the other side. |
 | Forest of Thorns | 4/12 | Potion | From the second Save Point, continue up the main path. As you come to a section with Darkside Heartless on either side of the path, locate a series of steps along the left-hand side. Climb these steps and tilt the camera up to locate a patch of red thorns above you. Cast a Firaga spell to break them, then jump up and Air Slide across the gap to reach this Treasure Chest. |
 | Forest of Thorns | 5/12 | Ether | Continue up the main path from where Treasure Chest 4/12 was found, until you come to a fork in the road. Two different staircases lead in different directions; take the staircase on the left. When you reach the top, locate a patch of red thorns across the gap. Cast a Firaga spell to break them, then jump across to reach this Treasure Chest. |
 | Forest of Thorns | 6/12 | Hi-Potion | Return to the bottom of the staircase and this time take the staircase on the right. As you climb, the staircase will break off, leading to a ledge on your right that you can jump to. Once on that ledge, jump across even further to another ledge, where you'll find this Treasure Chest. |
 | Forest of Thorns | 7/12 | Hi-Potion | After reaching Treasure Chest 6/12, jump back across to the ledge, but drop down instead of jumping back across to the staircase. Follow this path downward until you see this Treasure Chest. |
 | Forest of Thorns | 8/12 | Potion | Return to the base of the two staircases and climb the one on your right. This time, climb it all the way to the top and then back down again. You'll come to another split in the road; one blocked by red thorns that leads up, and the other blocked by black thorns leading down. Choose the path leading down, and this Treasure Chest will be found at the end of it. |
 | Forest of Thorns | 9/12 | Potion | From the location of Treasure Chest 8/12, follow the path back to the red thorns and break them to get through them, which will lead you to another fork in the road. If you look at your Mini Map, you can see that the path on the right loops around and joins again with the path on the left, so take the path on the right. Just a few steps away from the split in the road, there will be a small crevasse in the ground to jump down into, where you'll find this Treasure Chest. |
 | Forest of Thorns | 10/12 | Mega-Potion | On the final staircase leading to the boss fight with Darkside, hug the right-side wall until you locate a path leading down. The Treasure Chest is at the end of it. |
 | Forest of Thorns | 11/12 | Taurus Relic | Available only after saving a file with Clear Data. Return to the location of Treasure Chest 1/12, and jump down into the valley instead of crossing on the rail. |
 | Forest of Thorns | 12/12 | Scorpio Relic | Available only after saving a file with Clear Data. Just beyond the first open room (with the pillars that lead to the spiral rail where you found Treasure Chest 2/12), follow the main path until the road splits. Take the left-side path leading down, and this Treasure Chest will be at the end of that path. |
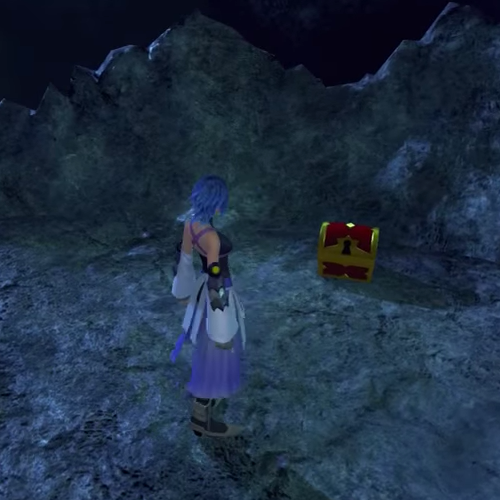
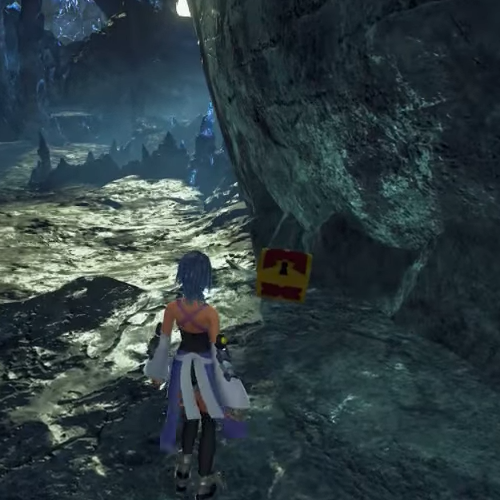
 | Depths of Darkness | 1/6 | Depths of Darkness Area Map | Follow the main path up a ways from the Save Point, and the Treasure Chest will be along the righthand side. |
 | Depths of Darkness | 2/6 | Mega-Ether | Continue up the path from where you found Treasure Chest 1/6, until you reach a section where the ground forms a ramp in the middle. On the other side of the ramp is a cave that leads down inside the ramp; enter the cave and follow the path downwards. The Treasure Chest is in a small clearing off to your left. |
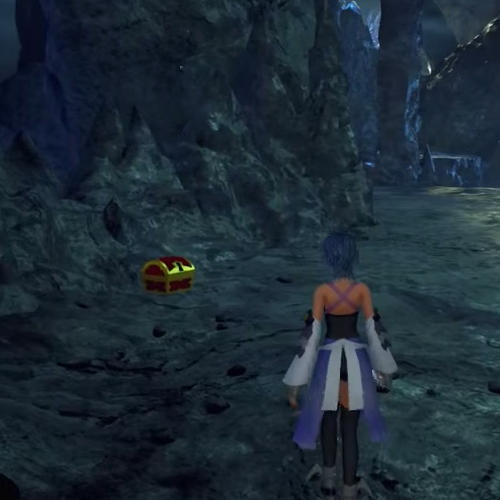
 | Depths of Darkness | 3/6 | Hi-Potion | Return to the main path and continue along until you reach a downward slope heading toward the light at the end of the path. Somewhere along that slope will be a small cliff on the righthand side, where you'll find this Treasure Chest. |
 | Depths of Darkness | 4/6 | Mega-Ether | Continue down the slope from where you found Treasre Chest 3/6 and this Treasure Chest will be at the bottom to your left. |
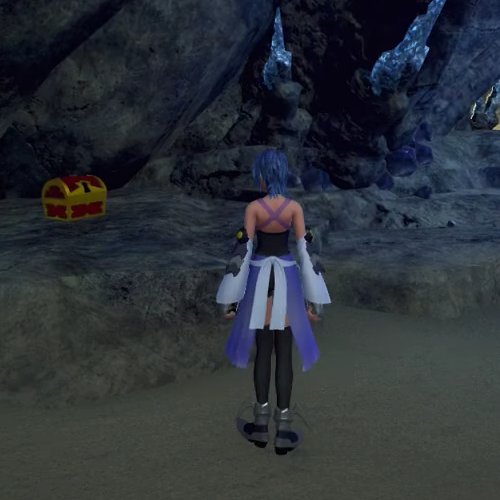
 | Depths of Darkness | 5/6 | Elixir | In the final area before leaving the Depths of Darkness, you'll find this Treasure Chest to the left of the giant opening in the back of the room. |
 | Depths of Darkness | 6/6 | Capricorn Relic | Available only after saving a file with Clear Data. Return to where you found Treasure Chest 5/6 and look for a pillar to the right of the giant opening in the back of the room. This Treasure Chest is on top of that pillar. |


